When I first started building websites for clients, I fielded a lot of questions about WordPress. The problem was that once I delivered a new website, my clients were often confused by the WordPress dashboard. Fortunately, I came up with a process to white label WordPress so that my clients were no longer overwhelmed and frustrated. So, if you’re like I was in the beginning, you are probably wondering, How do I create a custom WordPress dashboard for my clients?
The best way to create a custom WordPress dashboard for clients is by using the White Label CMS plugin. It’s free and allows you to replace the WordPress branding with your own, customize the login page, add a custom welcome panel, remove links from the sidebar, and customize the admin settings.
In this article, you will learn how to create a custom WordPress dashboard in just 6 steps using the White Label CMS plugin. By the end of this tutorial, you will be able to deliver a more professional and less confusing WordPress website experience to your clients. Let’s get started!
How to Create a Custom WordPress Dashboard For Clients
If you’re a web design agency or freelancer building websites for clients, you probably find yourself spending a lot of time answering questions about WordPress and other plugins found in the default admin dashboard.
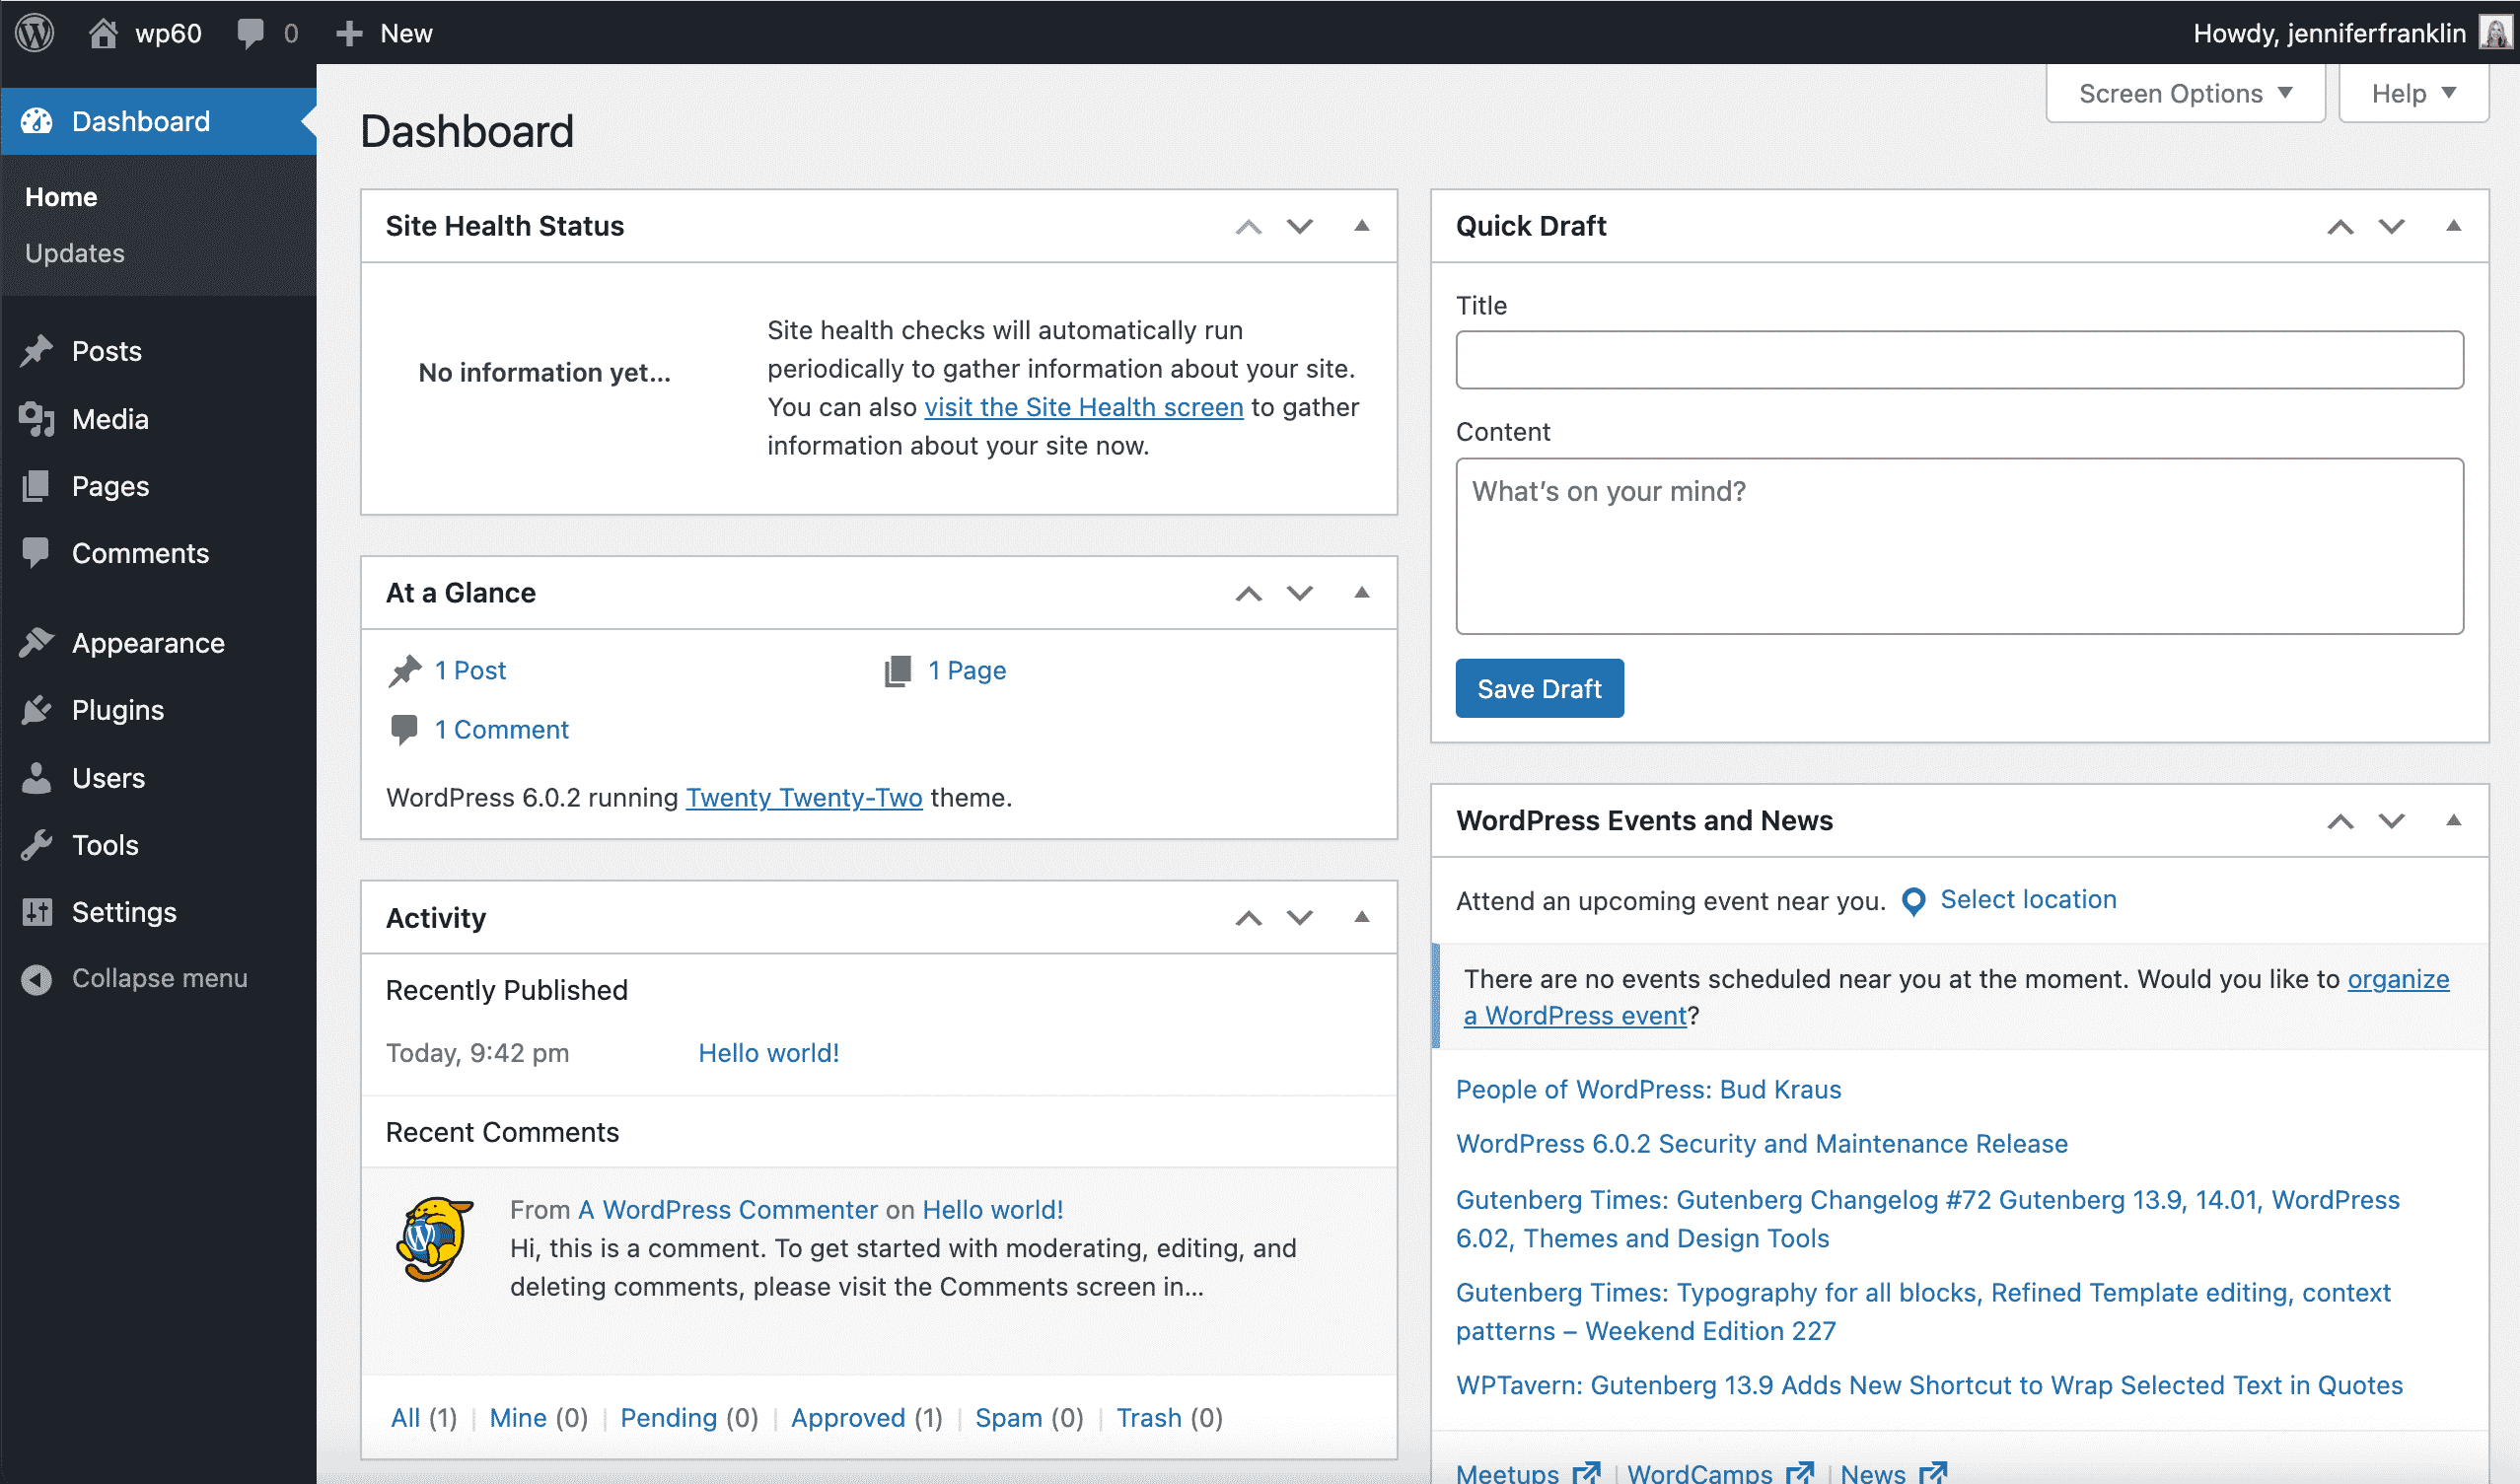
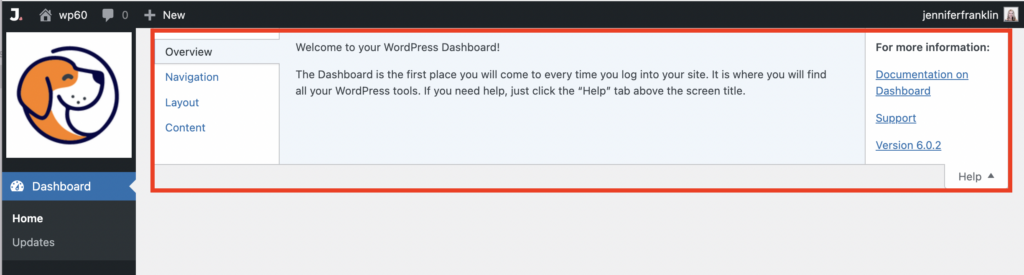
For example, the Site Health Status panel can be a source of unnecessary worry for some clients. And most don’t need to know when the next WordPress event will be taking place:
Can I customize WordPress dashboard?
The good news is that White Label CMS allows you to customize the entire client experience including the login page, WordPress dashboard panels and admin menus.
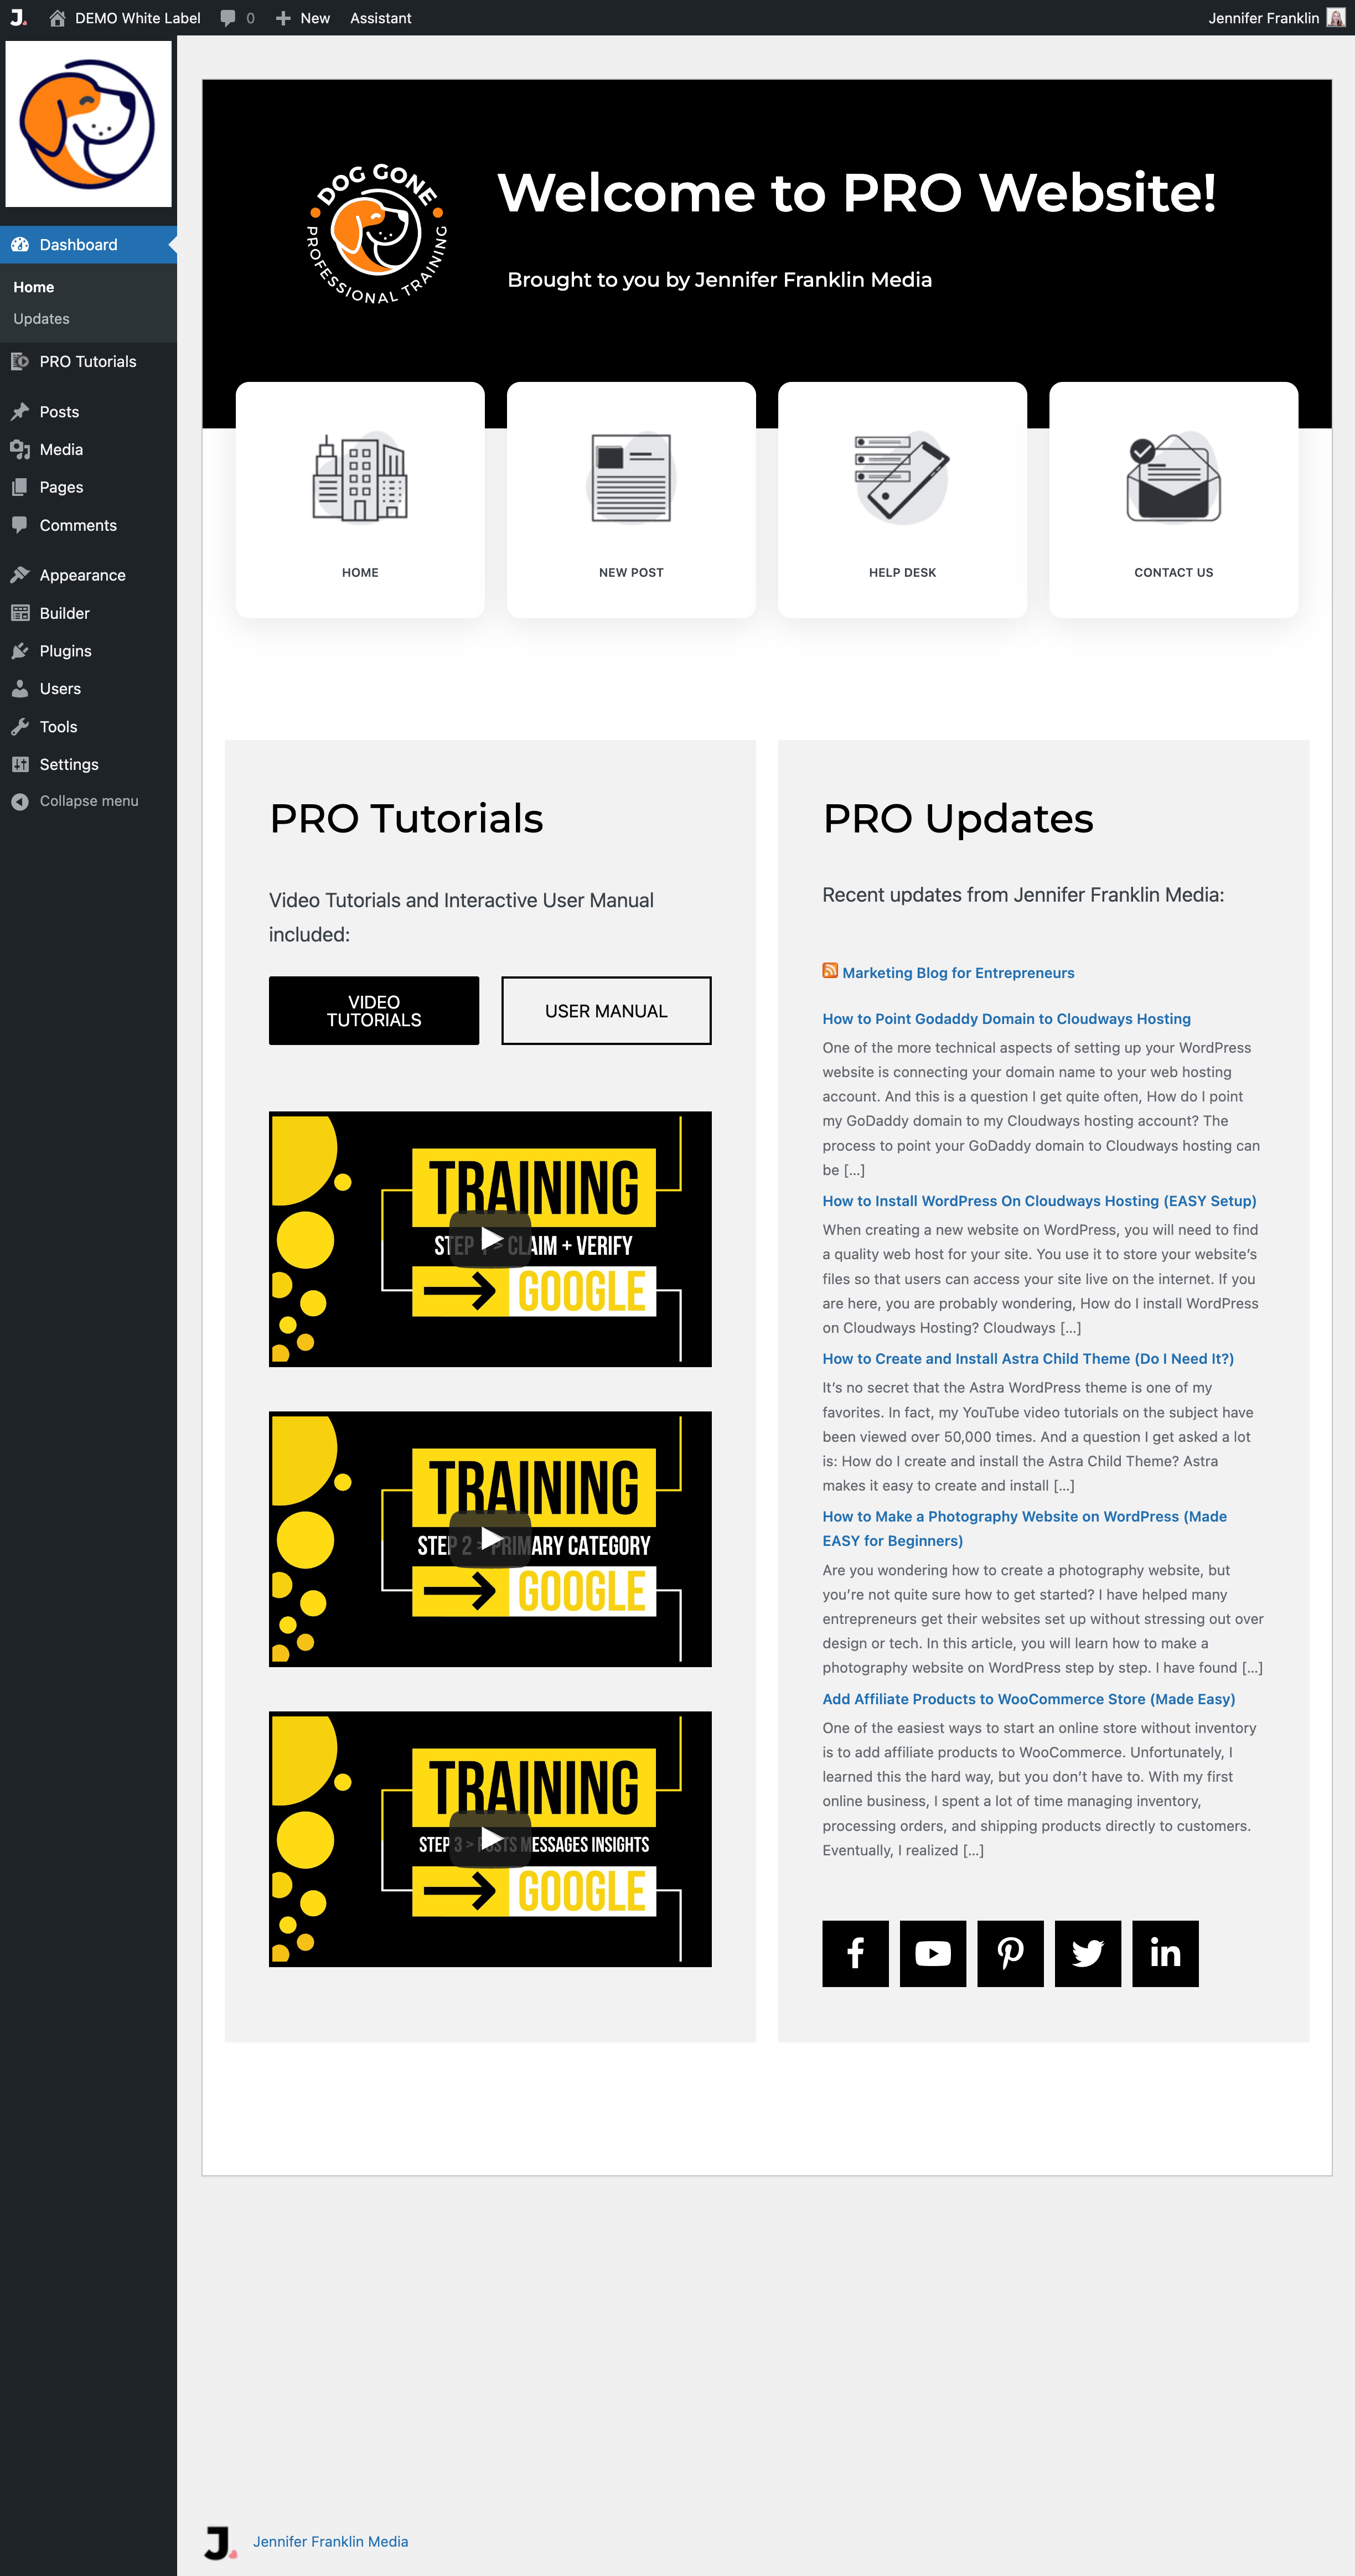
Here is an example of the custom WordPress dashboard you will learn how to create with the plugin:
PRO TIP: You can build this custom WordPress dashboard once and then save it as a layout template to use over and over again.
1. Install White Label CMS
The first step is to install and activate the White Label CMS plugin.
From your WordPress dashboard, go to PLUGINS > ADD NEW and search White Label CMS in the Keyword search box:
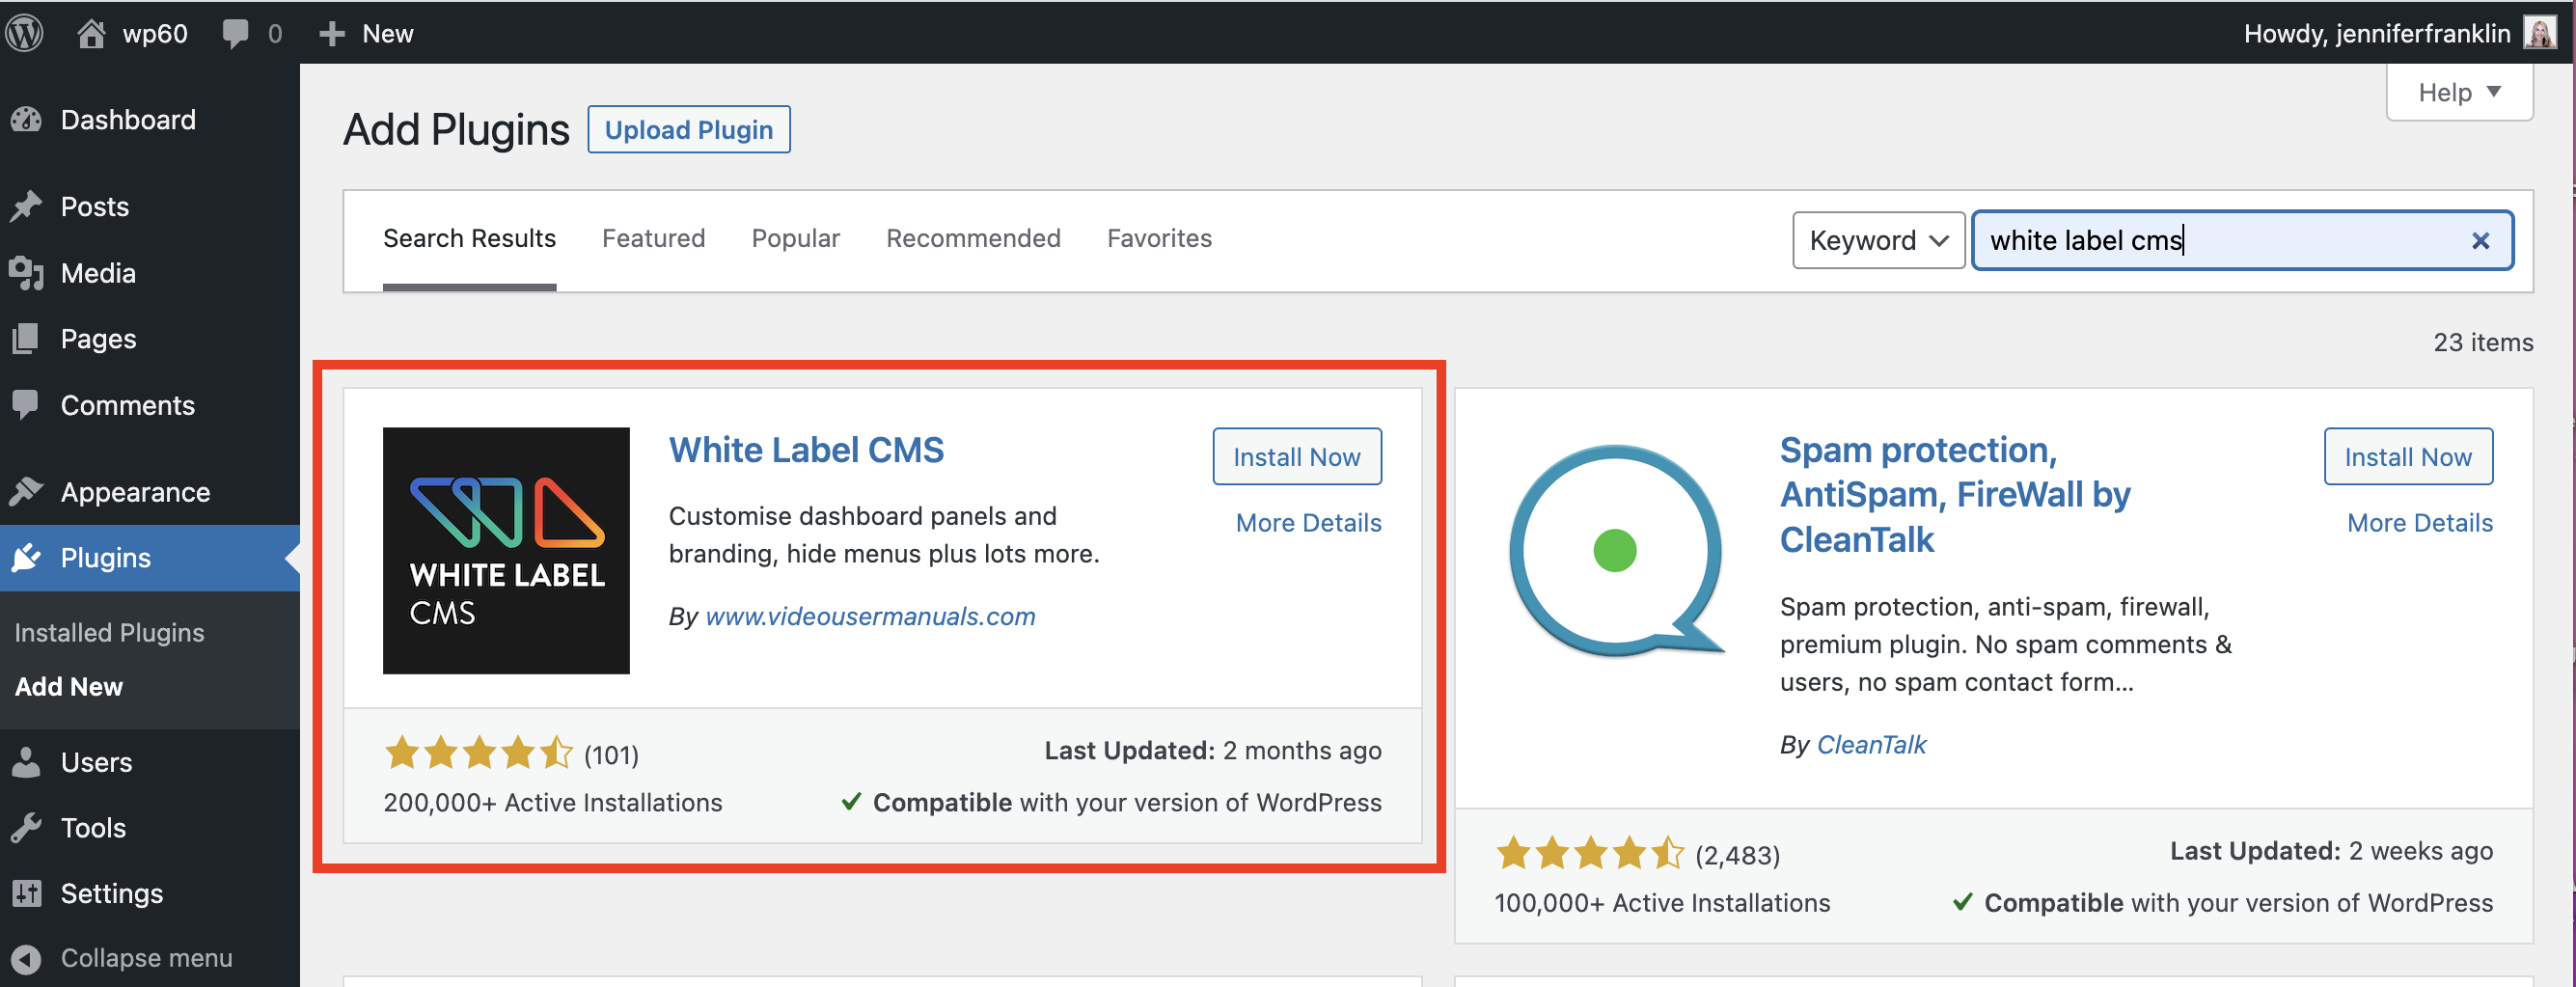
Click INSTALL NOW. Then, ACTIVATE.
How do I use White Label CMS in WordPress?
To use the White Label CMS plugin, go to SETTINGS > WHITE LABEL CMS to open up the settings page and configure the plugin:
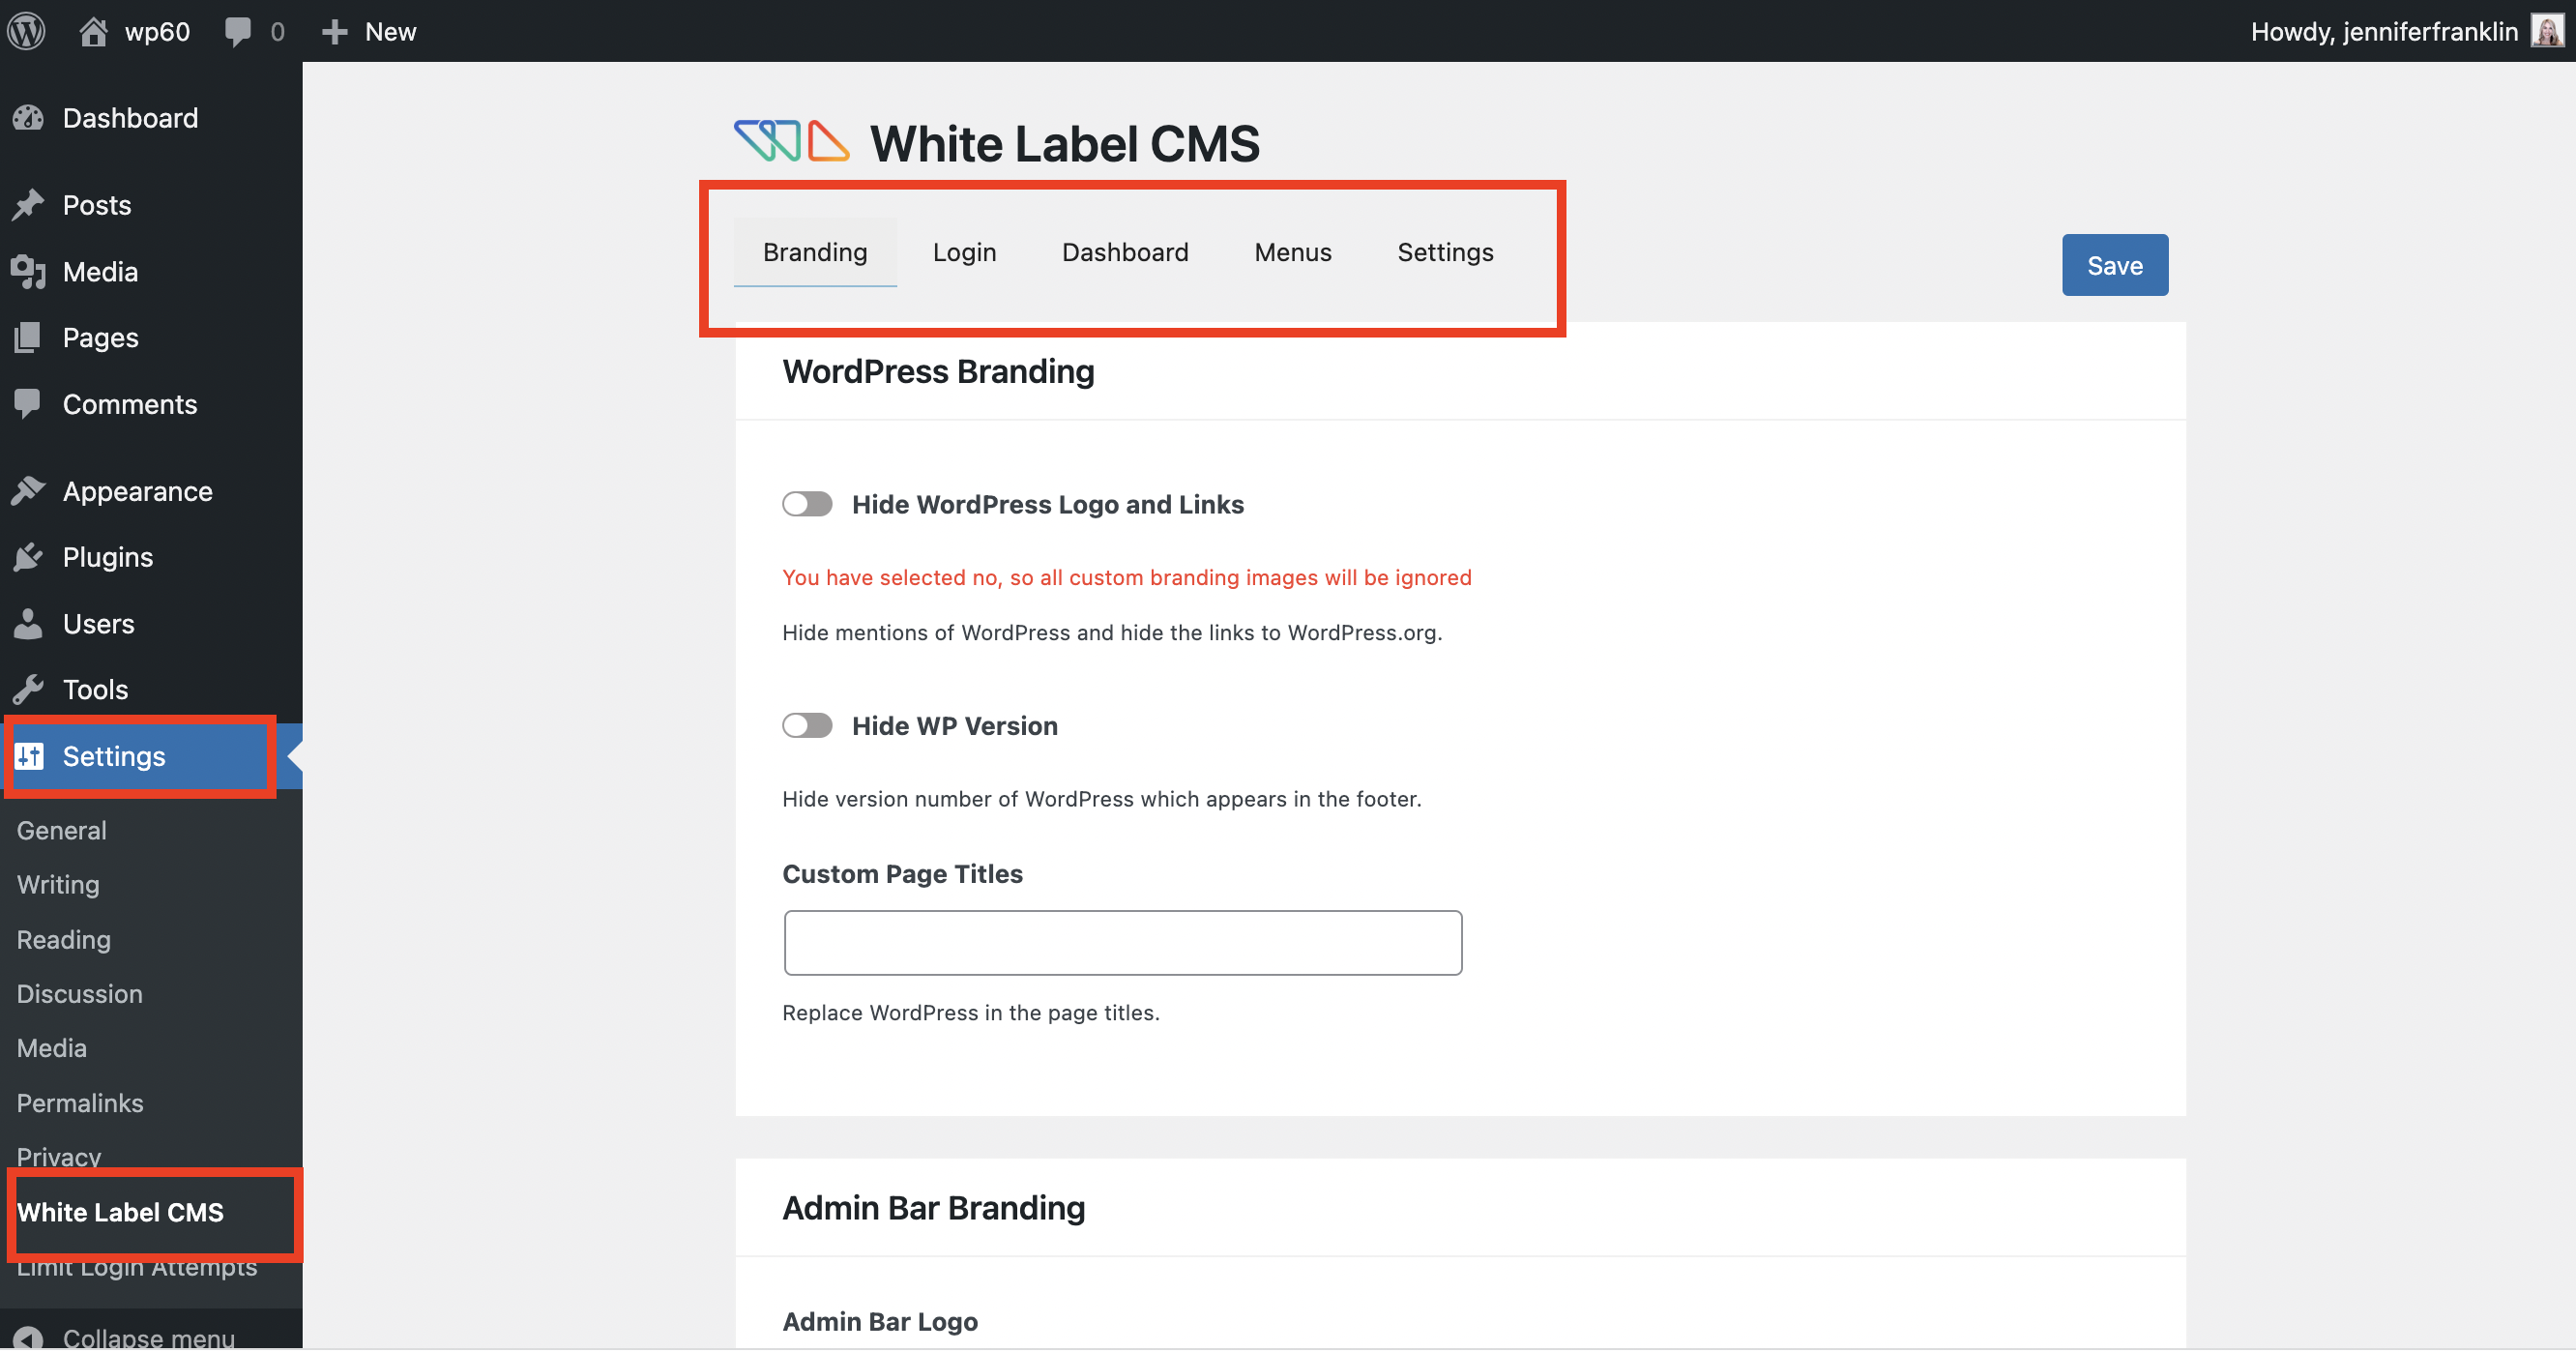
This is where you will be able to customize every detail of the admin area so that there is no mention of WordPress.
At the top of the page, you will see the following five tabs:
- Branding: The branding tab allows you to replace the WordPress branding with your agency branding.
- Login: The login tab is where you will customize your WordPress login page.
- Dashboard: The dashboard tab is where you will add your custom Welcome Panel.
- Menus: The hide menus tab allows you to hide menus in the WordPress dashboard.
- Settings: The settings tab is where you will
Let’s take a closer look at each of these headings to help you understand how to configure them for your site.
2. Replace WordPress Branding With Your Own Brand
The Branding tab is where you will be able to replace the default WordPress logo and links with your own. This is divided up into the following sections:
WordPress Branding
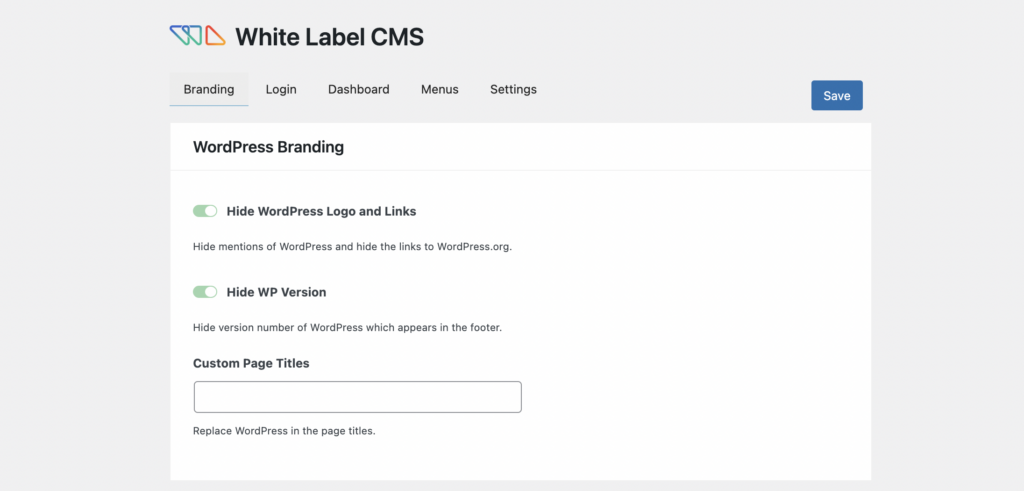
The WordPress Branding section of the White Label CMS plugin is where you can toggle on to hide the WordPress logo, links and version number:
- Hide WordPress Logo and Links: Hide mentions of WordPress and hide the links to WordPress.org.
- Hide WP Version: Hide version number of WordPress which appears in the footer.
- Custom Page Titles: Replace WordPress in the page titles.
Admin Bar Branding
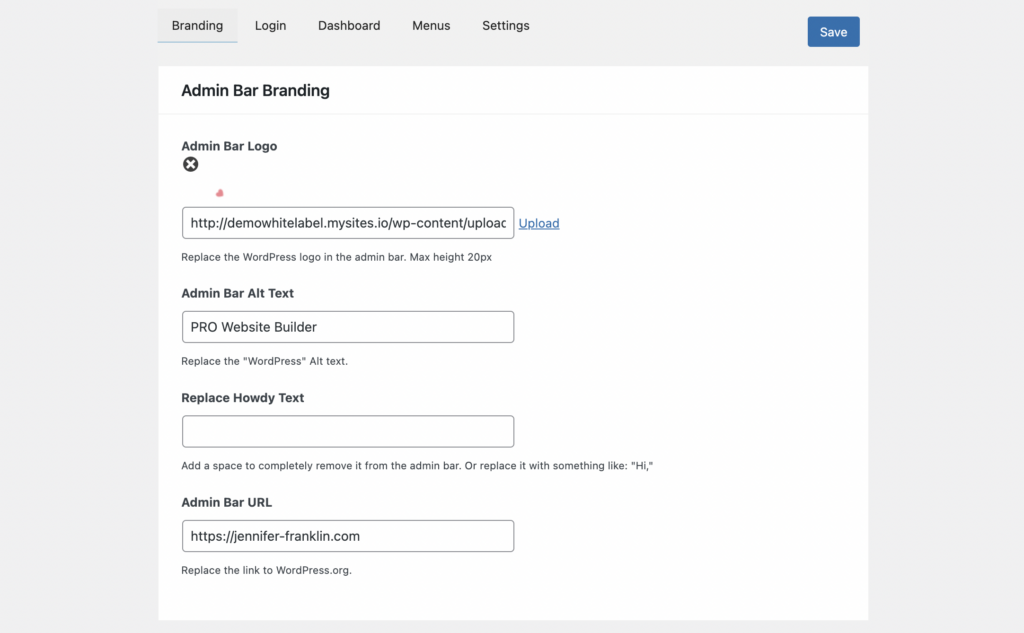
The Admin Bar Branding Section is where you can replace the admin bar branding with your own.
- Admin Bar Logo: Replace the WordPress logo in the admin bar. Max height 20 pixels.
- Admin Bar Alt Text: Replace the “WordPress” Alt text.
- Replace Howdy Text: Add a space to completely remove it from the admin bar. Or replace it with something like, “Hey”.
- Admin Bar URL: Replace the link to WordPress.org.
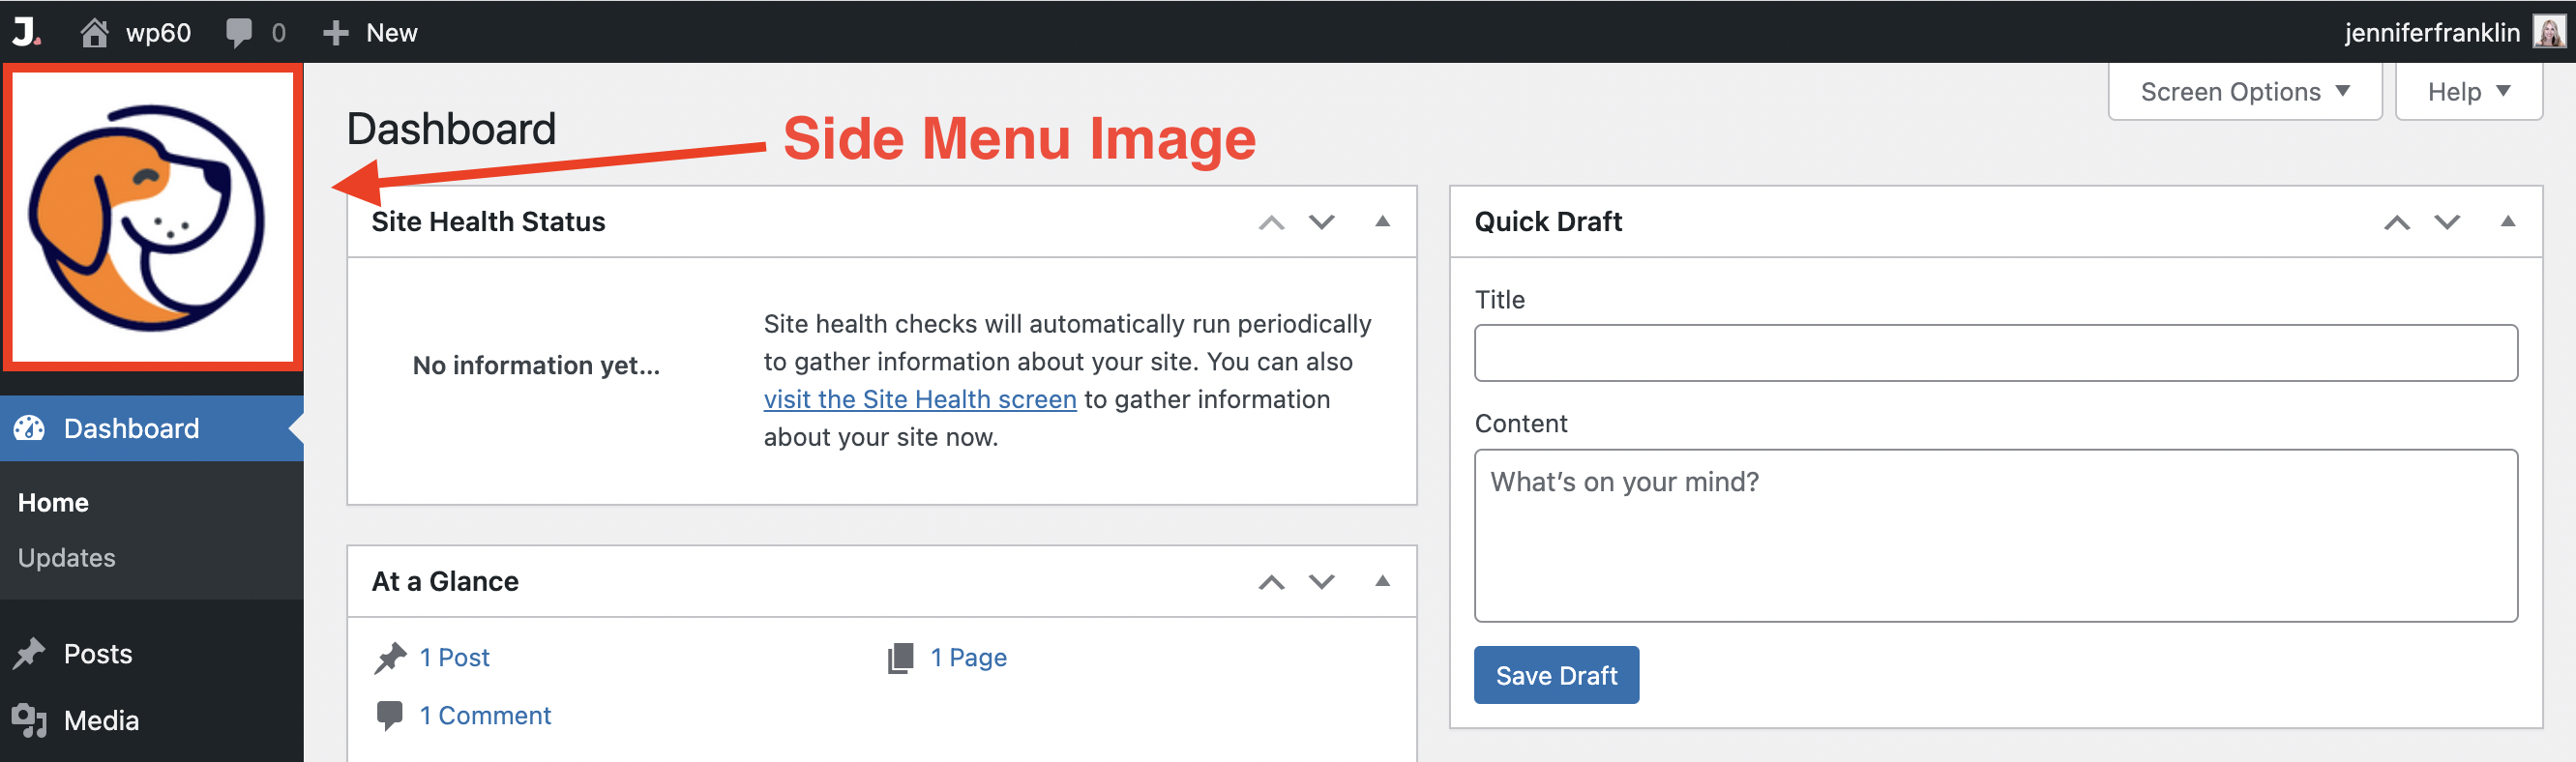
Side Menu Branding
The next section is Side Menu Branding:
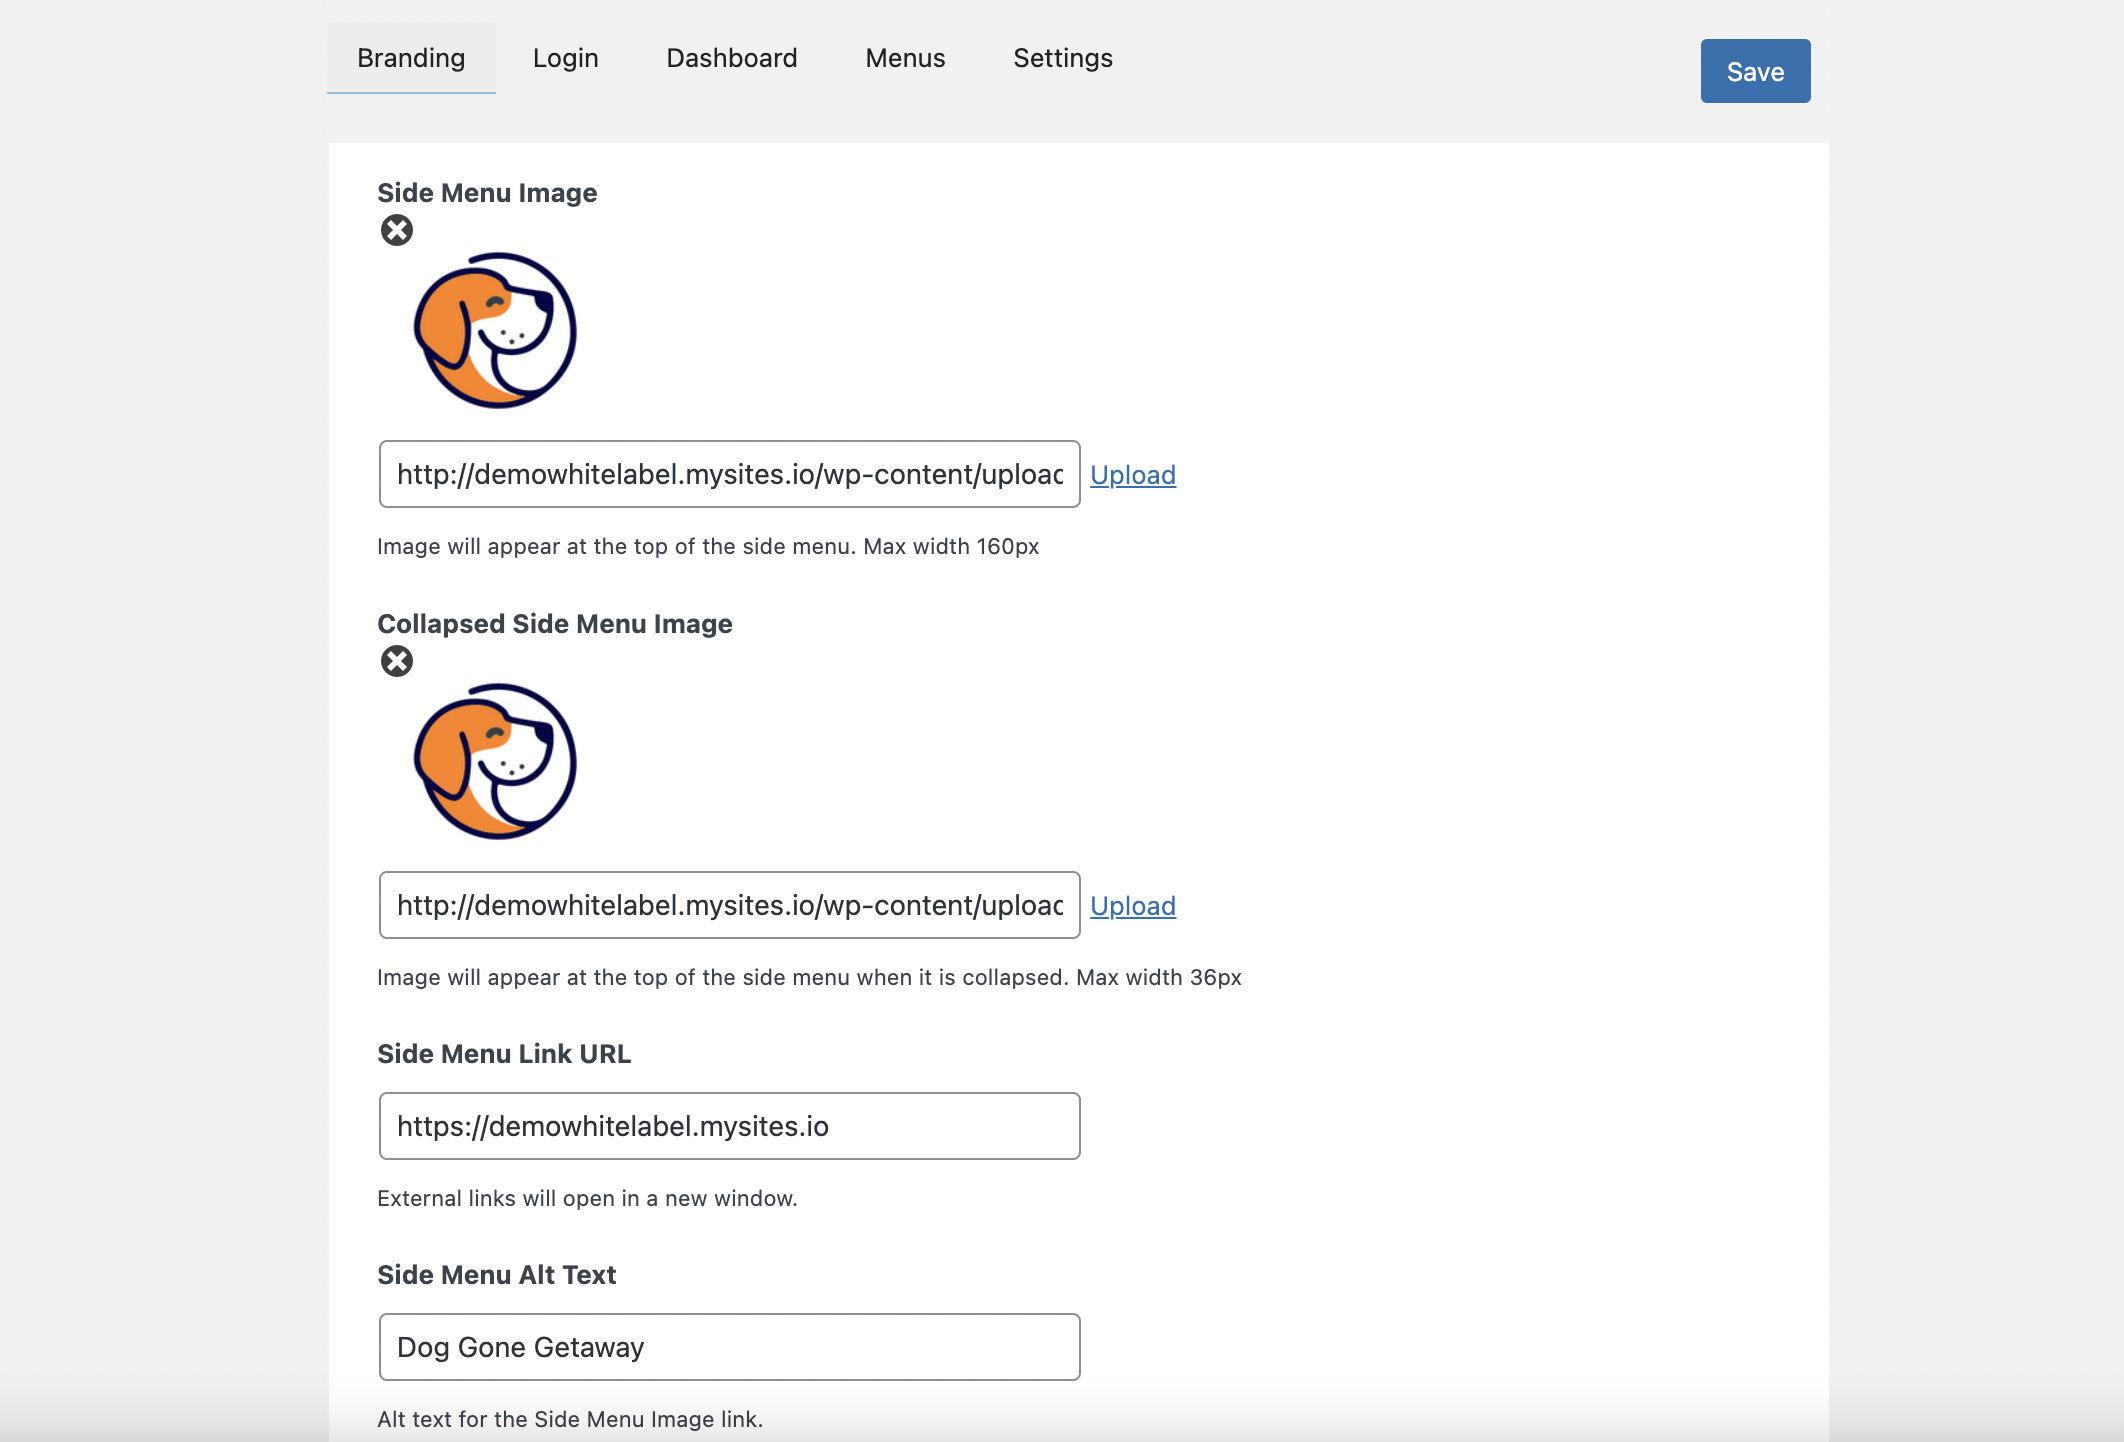
This is where you can upload an image to display your client’s logo, link and alt text in the sidebar menu:
- Side Menu Image: Image will appear at the top of the side menu. Max width 160 pixels.
- Collapsed Side Menu Image: Image will appear at the top of the side menu when it is collapsed. Max width 36 pixels.
- Side Menu Link URL: External links will open in a new window.
- Side Menu Alt Text: Alt text for the Side Menu Image link.
Gutenberg Branding
Following the Side Menu Branding is the Gutenberg Branding section:
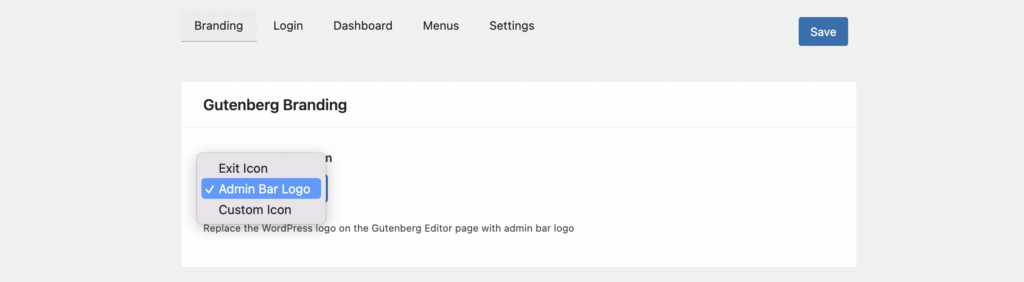
This is where you can choose to replace the WordPress logo on the Gutenberg Editor page with either an exit icon, admin bar logo, or custom icon.
In this example, I chose Admin Bar Logo from the drop-down. The WordPress logo will be replaced on the Gutenberg Editor page with the admin bar logo so that it looks like this:
Footer Branding
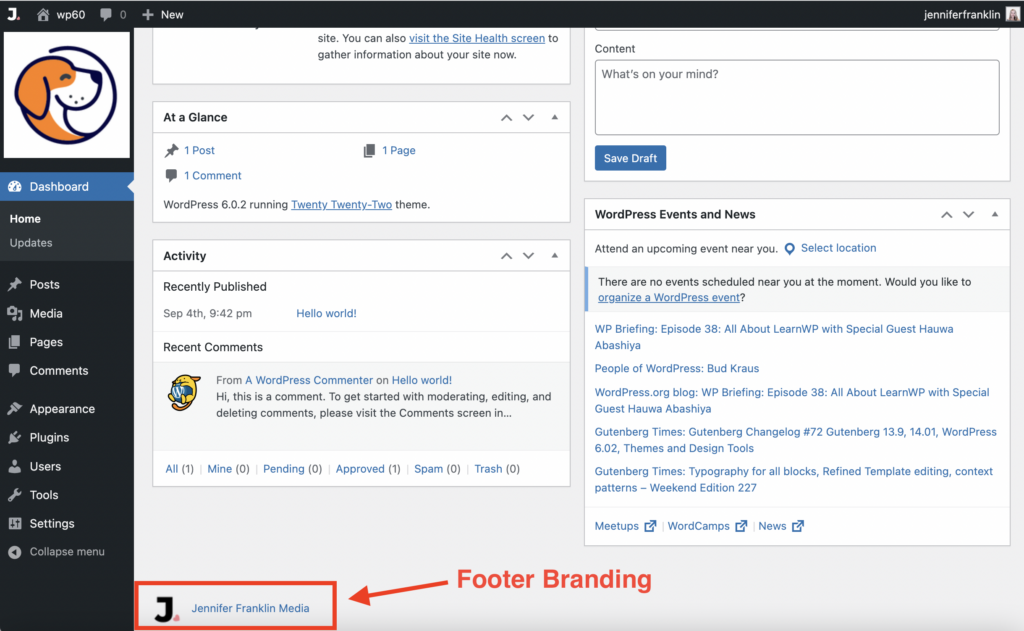
The last section on this page is Footer Branding:
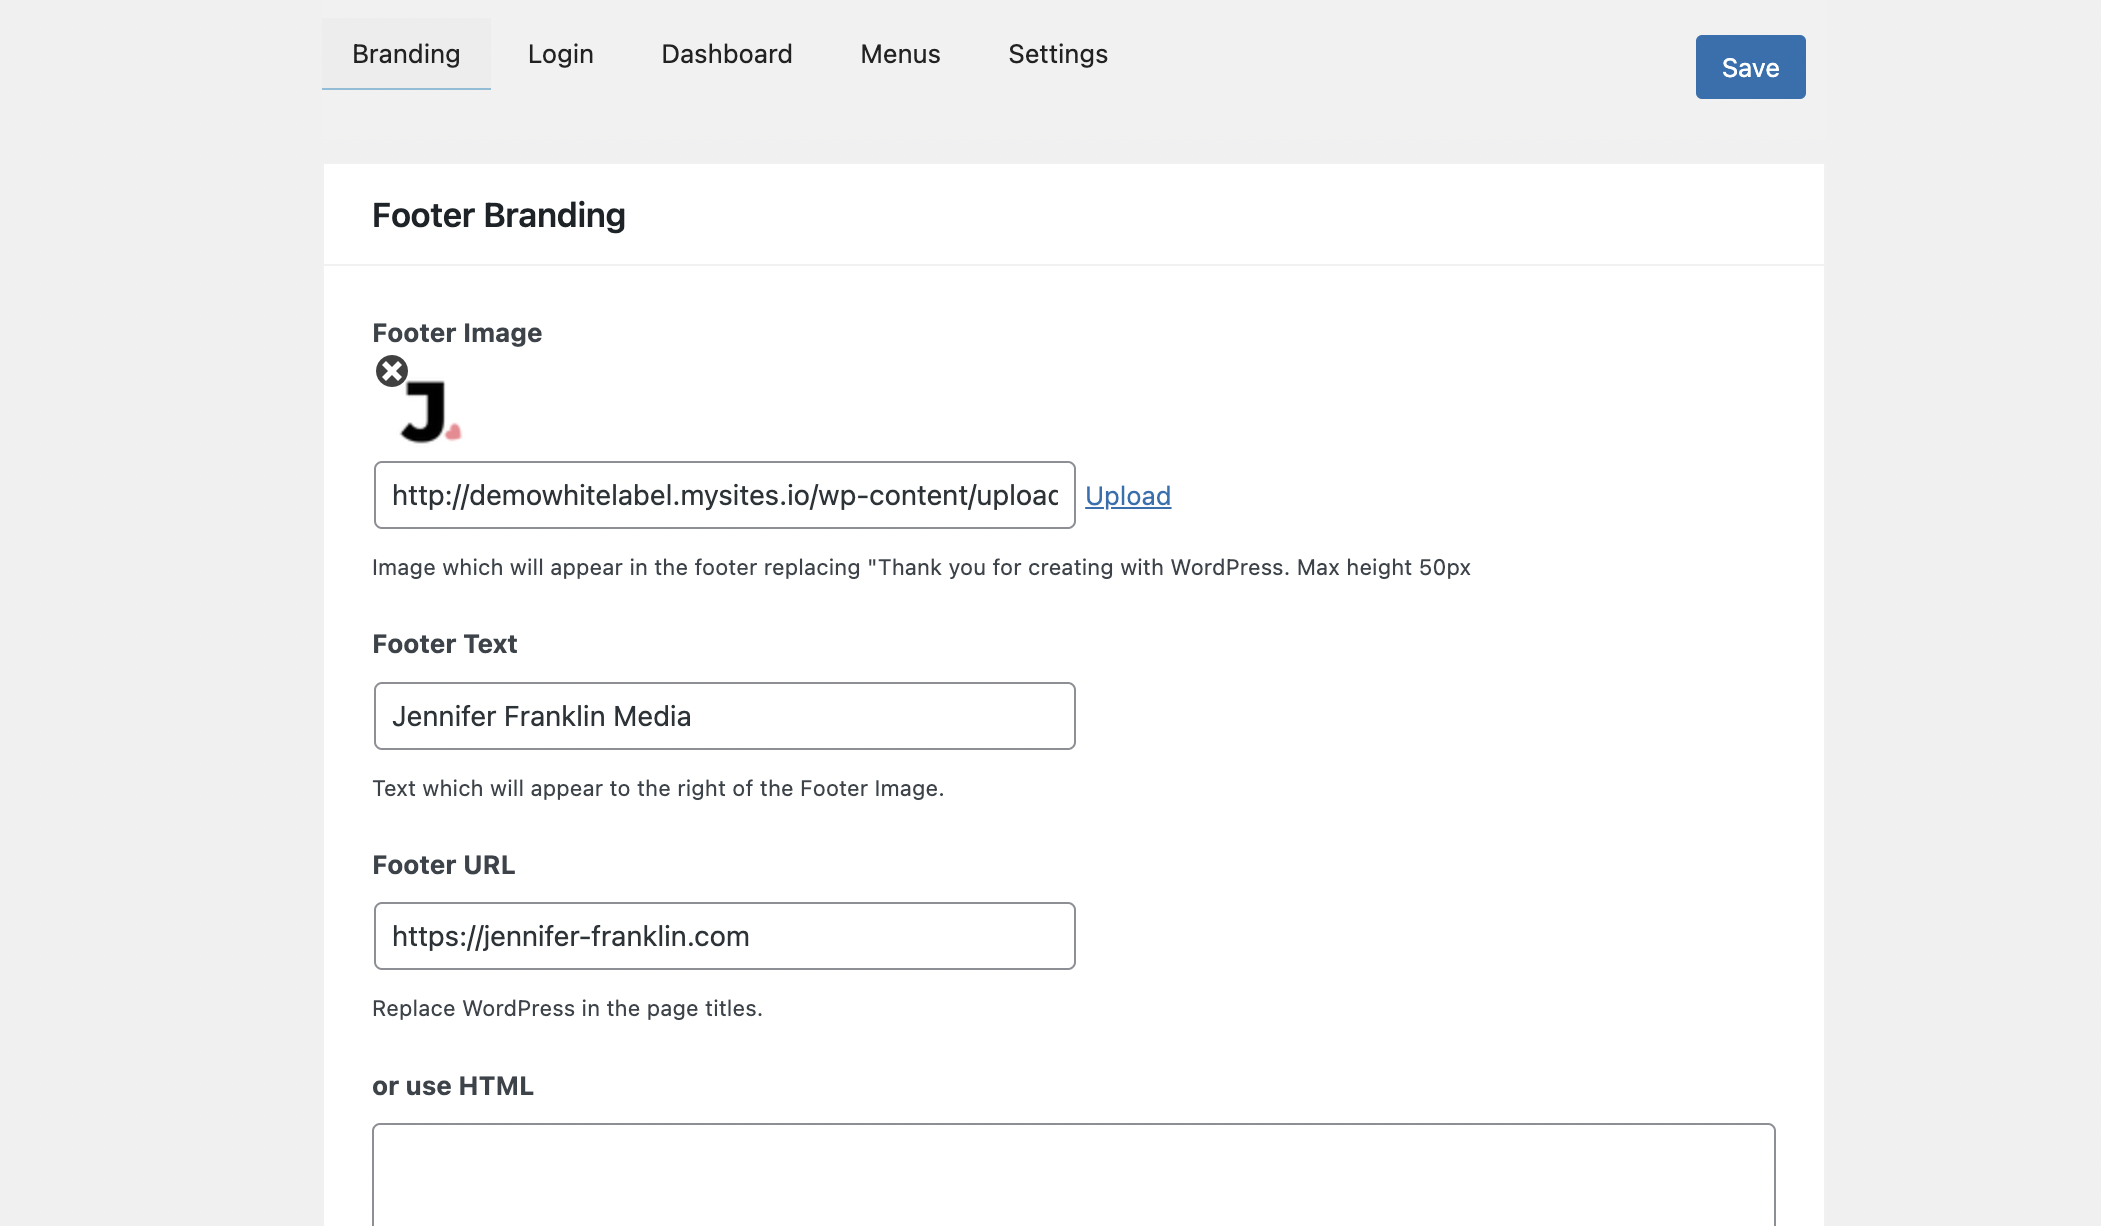
This is where you will replace the WordPress branding in the footer with your agency’s logo, text, and link:
- Footer Image: Image which will appear in the footer replacing “Thank you for creating with WordPress.” Max height 50 pixels.
- Footer Text: Text which will appear to the right of the Footer Image.
- Footer URL: Replace WordPress in the page titles.
- or use HTML: If you would like more control over what appears in the footer, add your own HTML.
Once you have completed all of the fields on this page, scroll back up to the top and click the SAVE button in the top right corner to save your changes.
3. Customize The WordPress Login Page
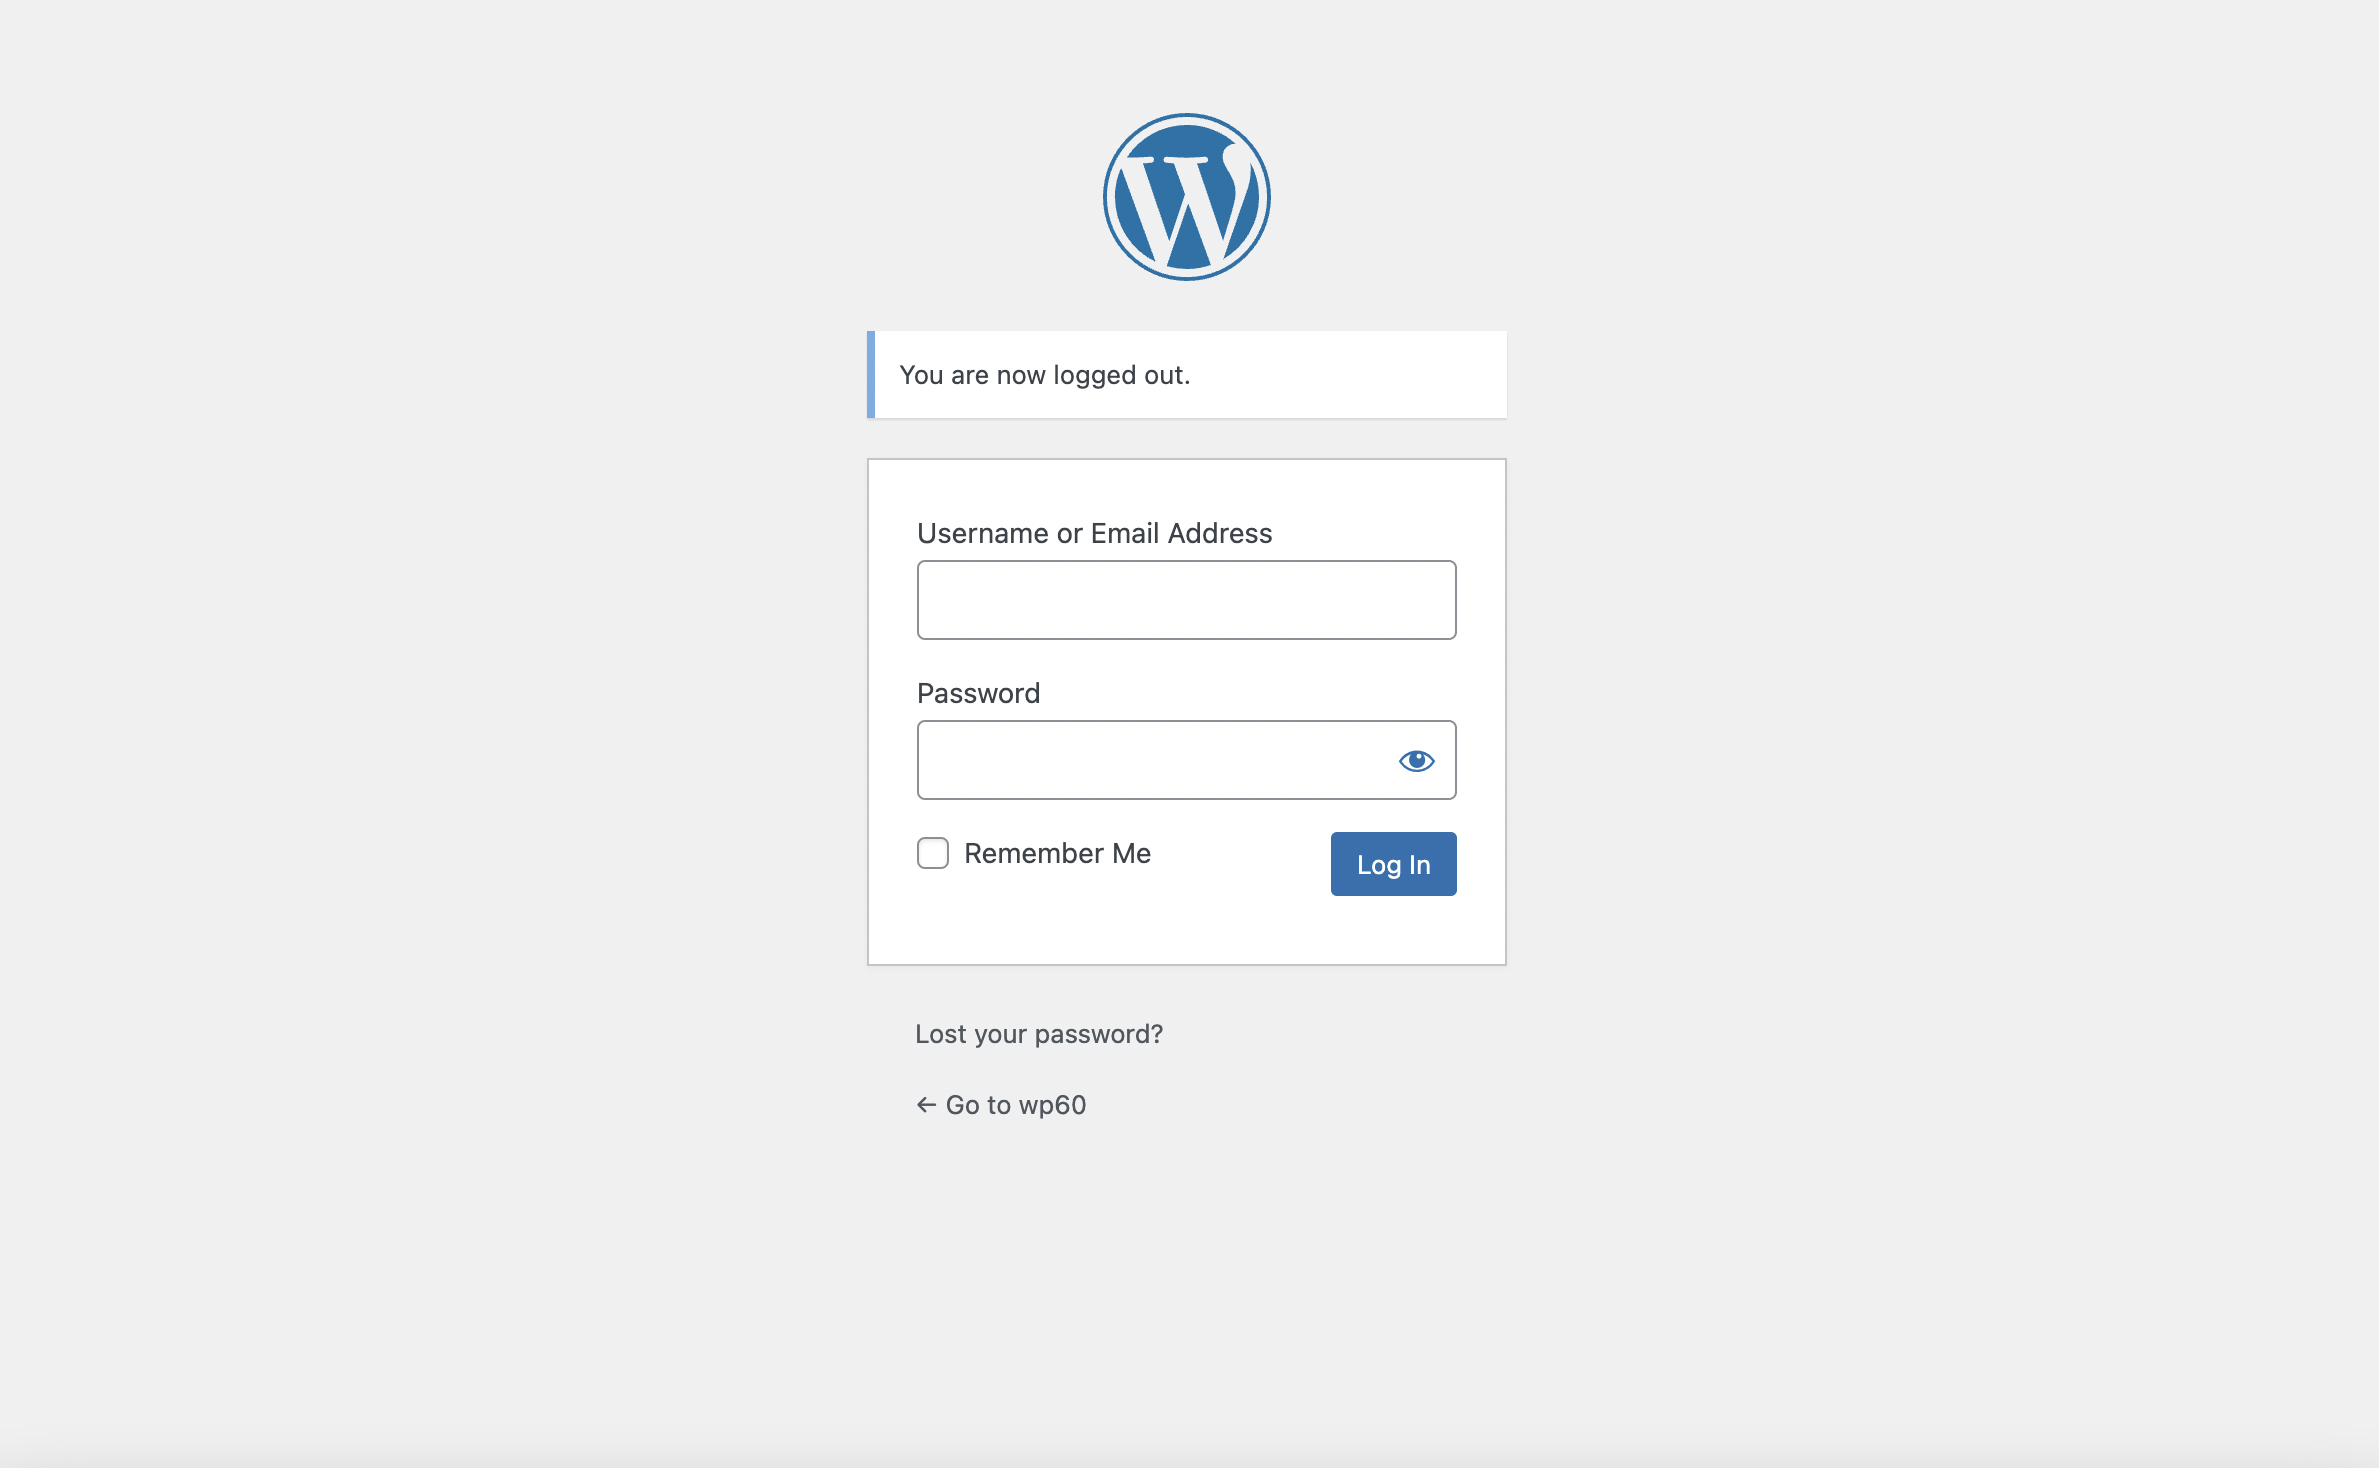
The next step is to customize the WordPress login page. Out of the box, the default login page for WordPress features the WordPress logo on a drab gray background:
The White Label CMS plugin lets you create a custom login page featuring your client’s branding.
To do this, navigate to the LOGIN tab on the White Label CMS settings page. On this screen, you will be able to replace the default WordPress logo and background, as well as customize the colors of the login form.
Logo and Background
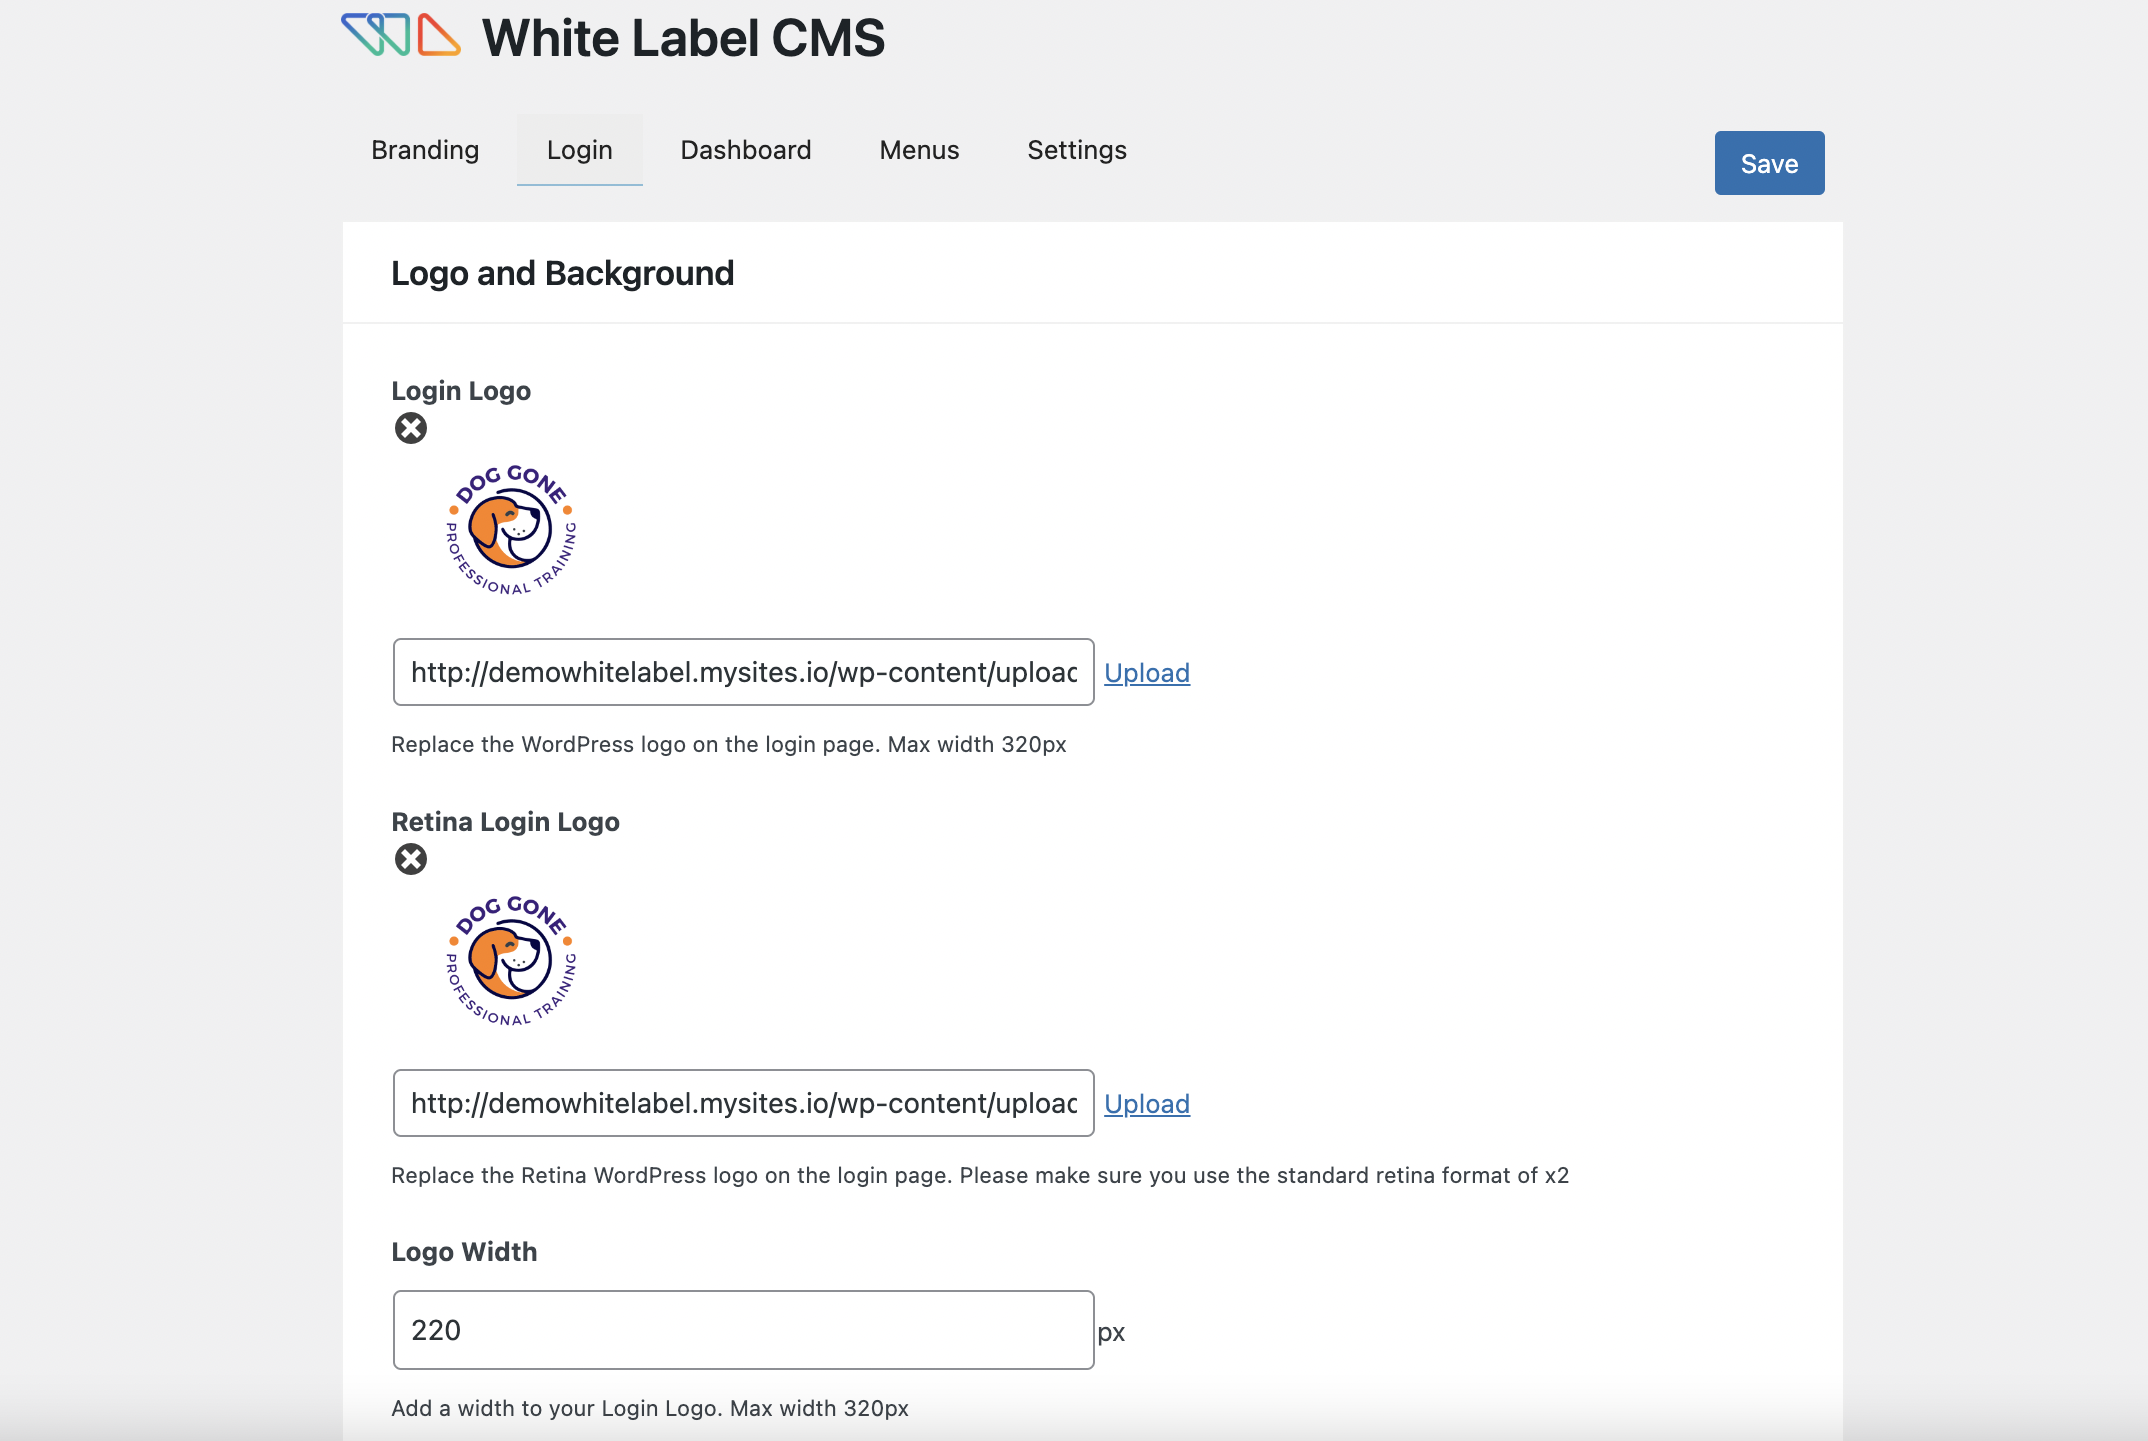
The section at the top is called Logo and Background. This is where you will upload your client’s logo, retina logo and background color or image. You can also specify the logo width, height, and bottom margin:
- Login Logo: Replace the WordPress logo on the login page. Max width 320px
- Retina Login Logo: Replace the Retina WordPress logo on the login page. Please make sure you use the standard retina format of x2
- Logo Width: Add a width to your Login Logo. Max width 320px
- Logo Height: Add a height to your Login Logo.
- Logo Bottom Margin: Add a bottom margin to your Login Logo.
- Background Color: Background color for the login page. Changing to White will help your logo standout.
- Background Image: Adds a background image to the login page.
- Full Screen Background Image: Stretch the background image to appear full screen.
- Background Position: Specify the CSS background position.
- Background Repeat: Specify the CSS background-repeat.
You can click the LIVE PREVIEW link at the bottom of this section any time to see how your login page is taking shape. This way, if something doesn’t look right, you can make adjustments as you go.
Advanced
Scroll down to the Advanced section of the Login tab to further customize your client’s WordPress login page:
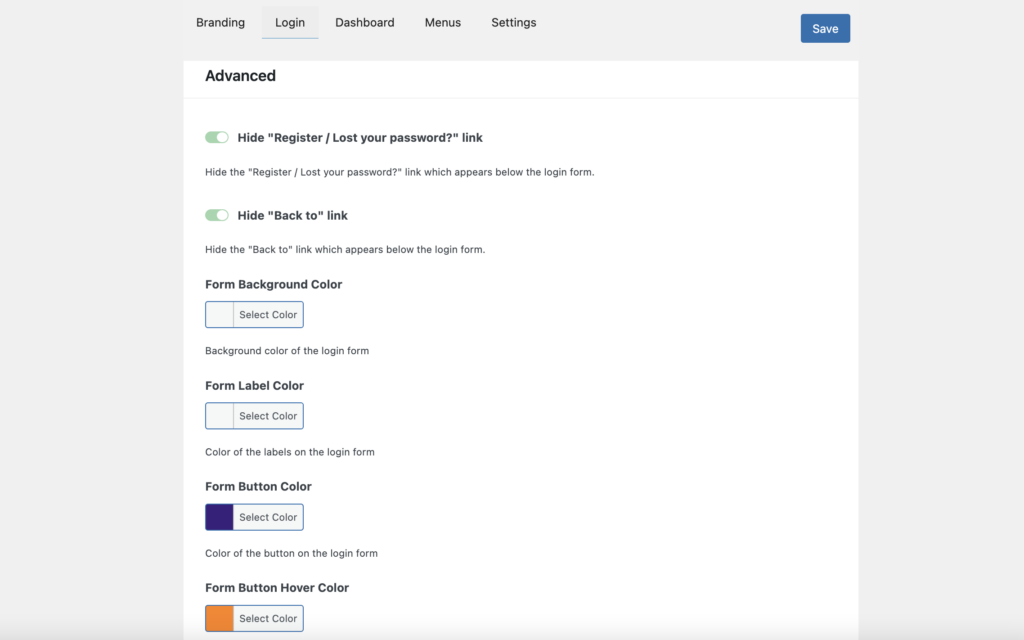
You can toggle on the switch to hide links and even customize the colors of the login form.
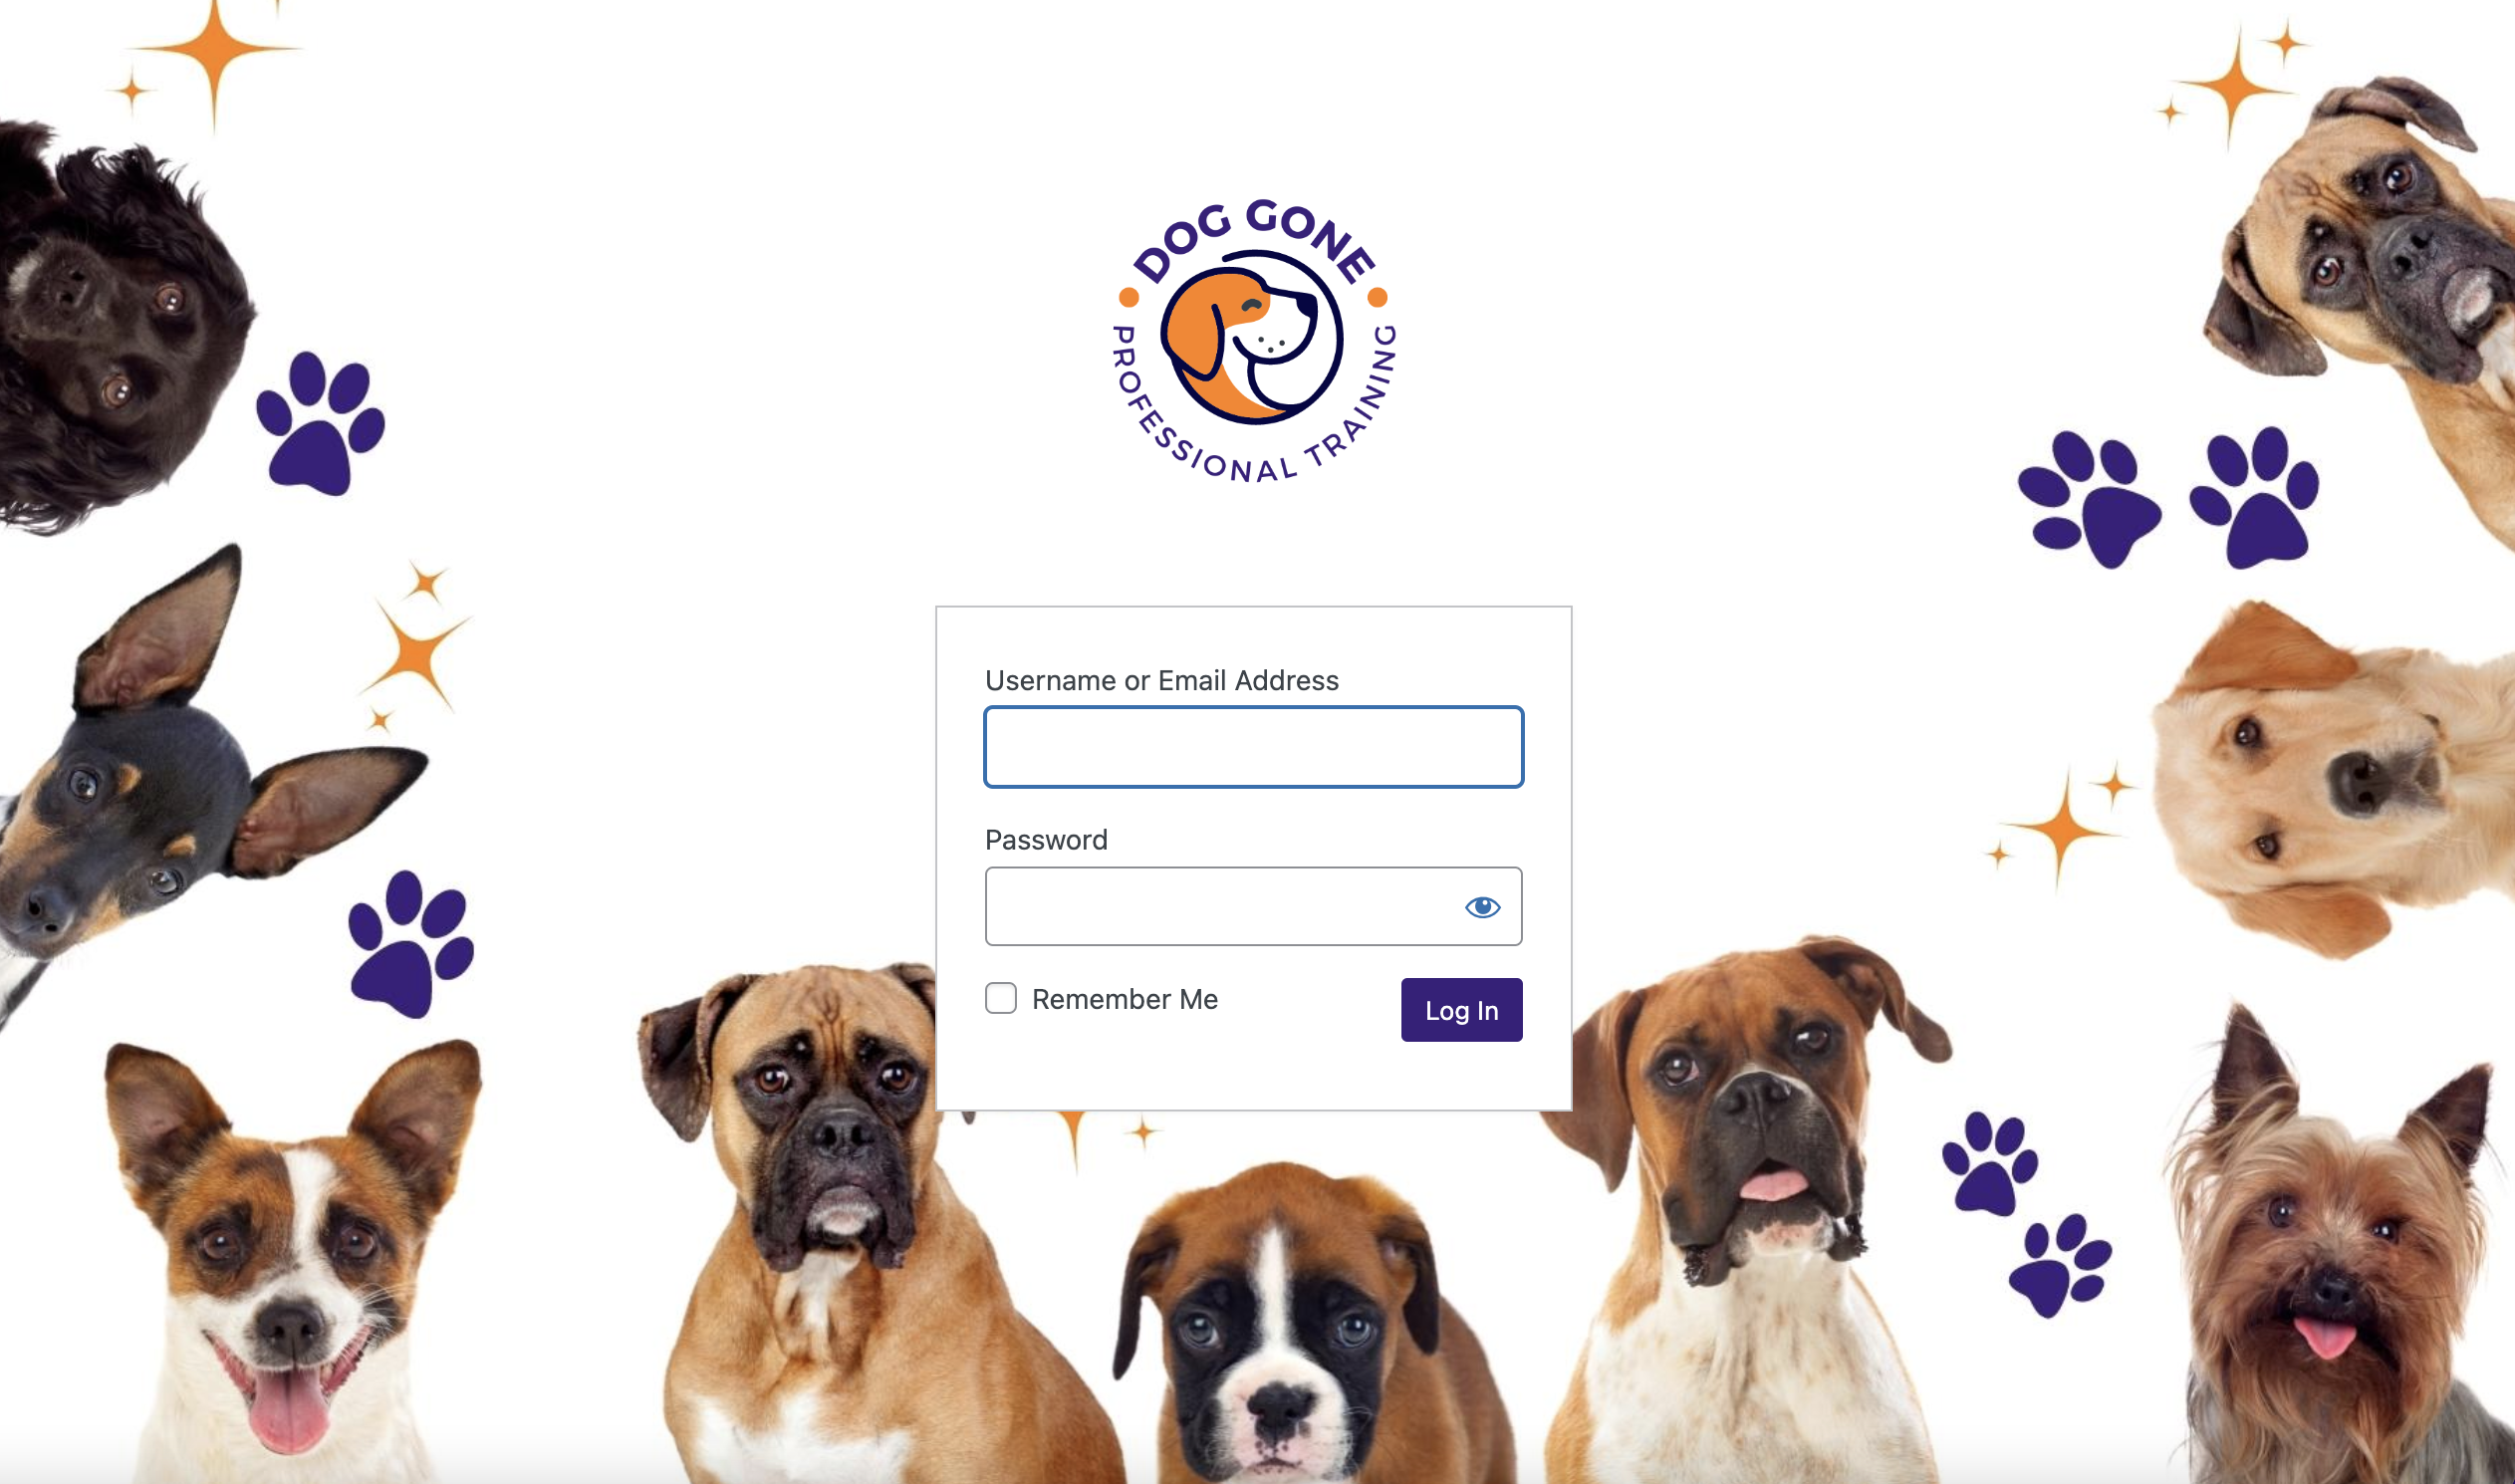
Here is an example of our custom WordPress login page:
Once you are happy with your design, click the SAVE button to save your changes.
4. Add a Custom Welcome Panel
When your clients login to WordPress, they are redirected to the WordPress dashboard. As noted in the beginning, this welcome screen can be pretty confusing for clients because it displays a lot of random information all at once and in no particular order.
The White Label CMS plugin can be used to clean up the WordPress dashboard. You are able to hide the default panels and add your own custom design.
To get started, click the DASHBOARD link at the top of the White Label CMS settings page. Let’s walk through the three sections on this page:
Default Panels
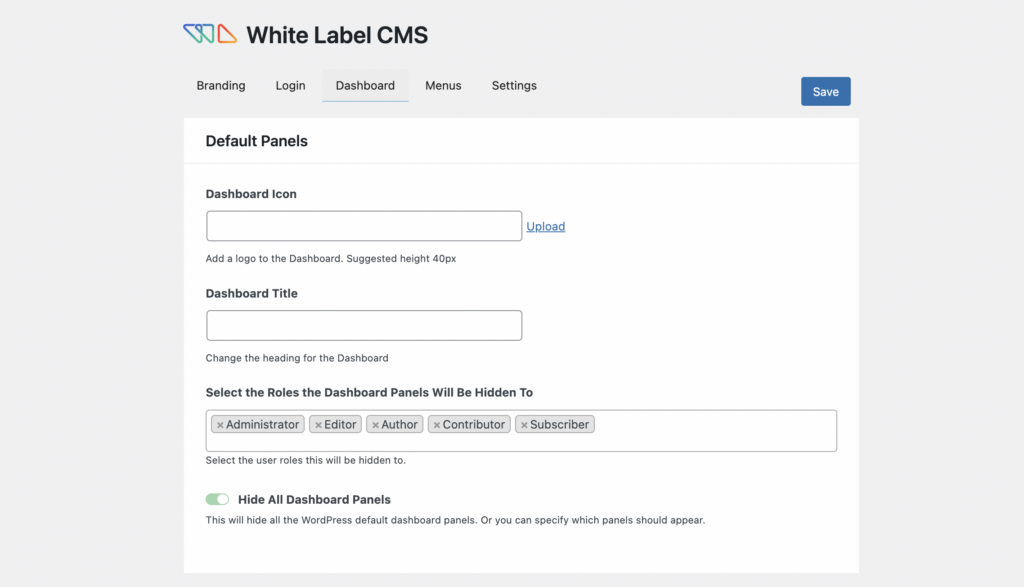
The Default Panels section is where you can upload a dashboard icon, give your dashboard a title, select who can see the dashboard, and even hide all of the default dashboard panels.
- Dashboard Icon: Add a logo to the Dashboard. Suggested height 40 pixels.
- Dashboard Title: Change the heading for the Dashboard.
- Select the Roles the Dashboard Panels Will Be Hidden To: Select the user roles this will be hidden to.
- Hide All Dashboard Panels: This will hide all the WordPress default dashboard panels or you can specify which panels should appear.
I like to leave the Dashboard Icon and Dashboard Title fields blank. You will see why in the next section when I show you how to add a custom welcome dashboard panel. Mostly, in this section I toggle on Hide All Dashboard Panels so that the dashboard now looks like this:

Custom Welcome Dashboard Panel
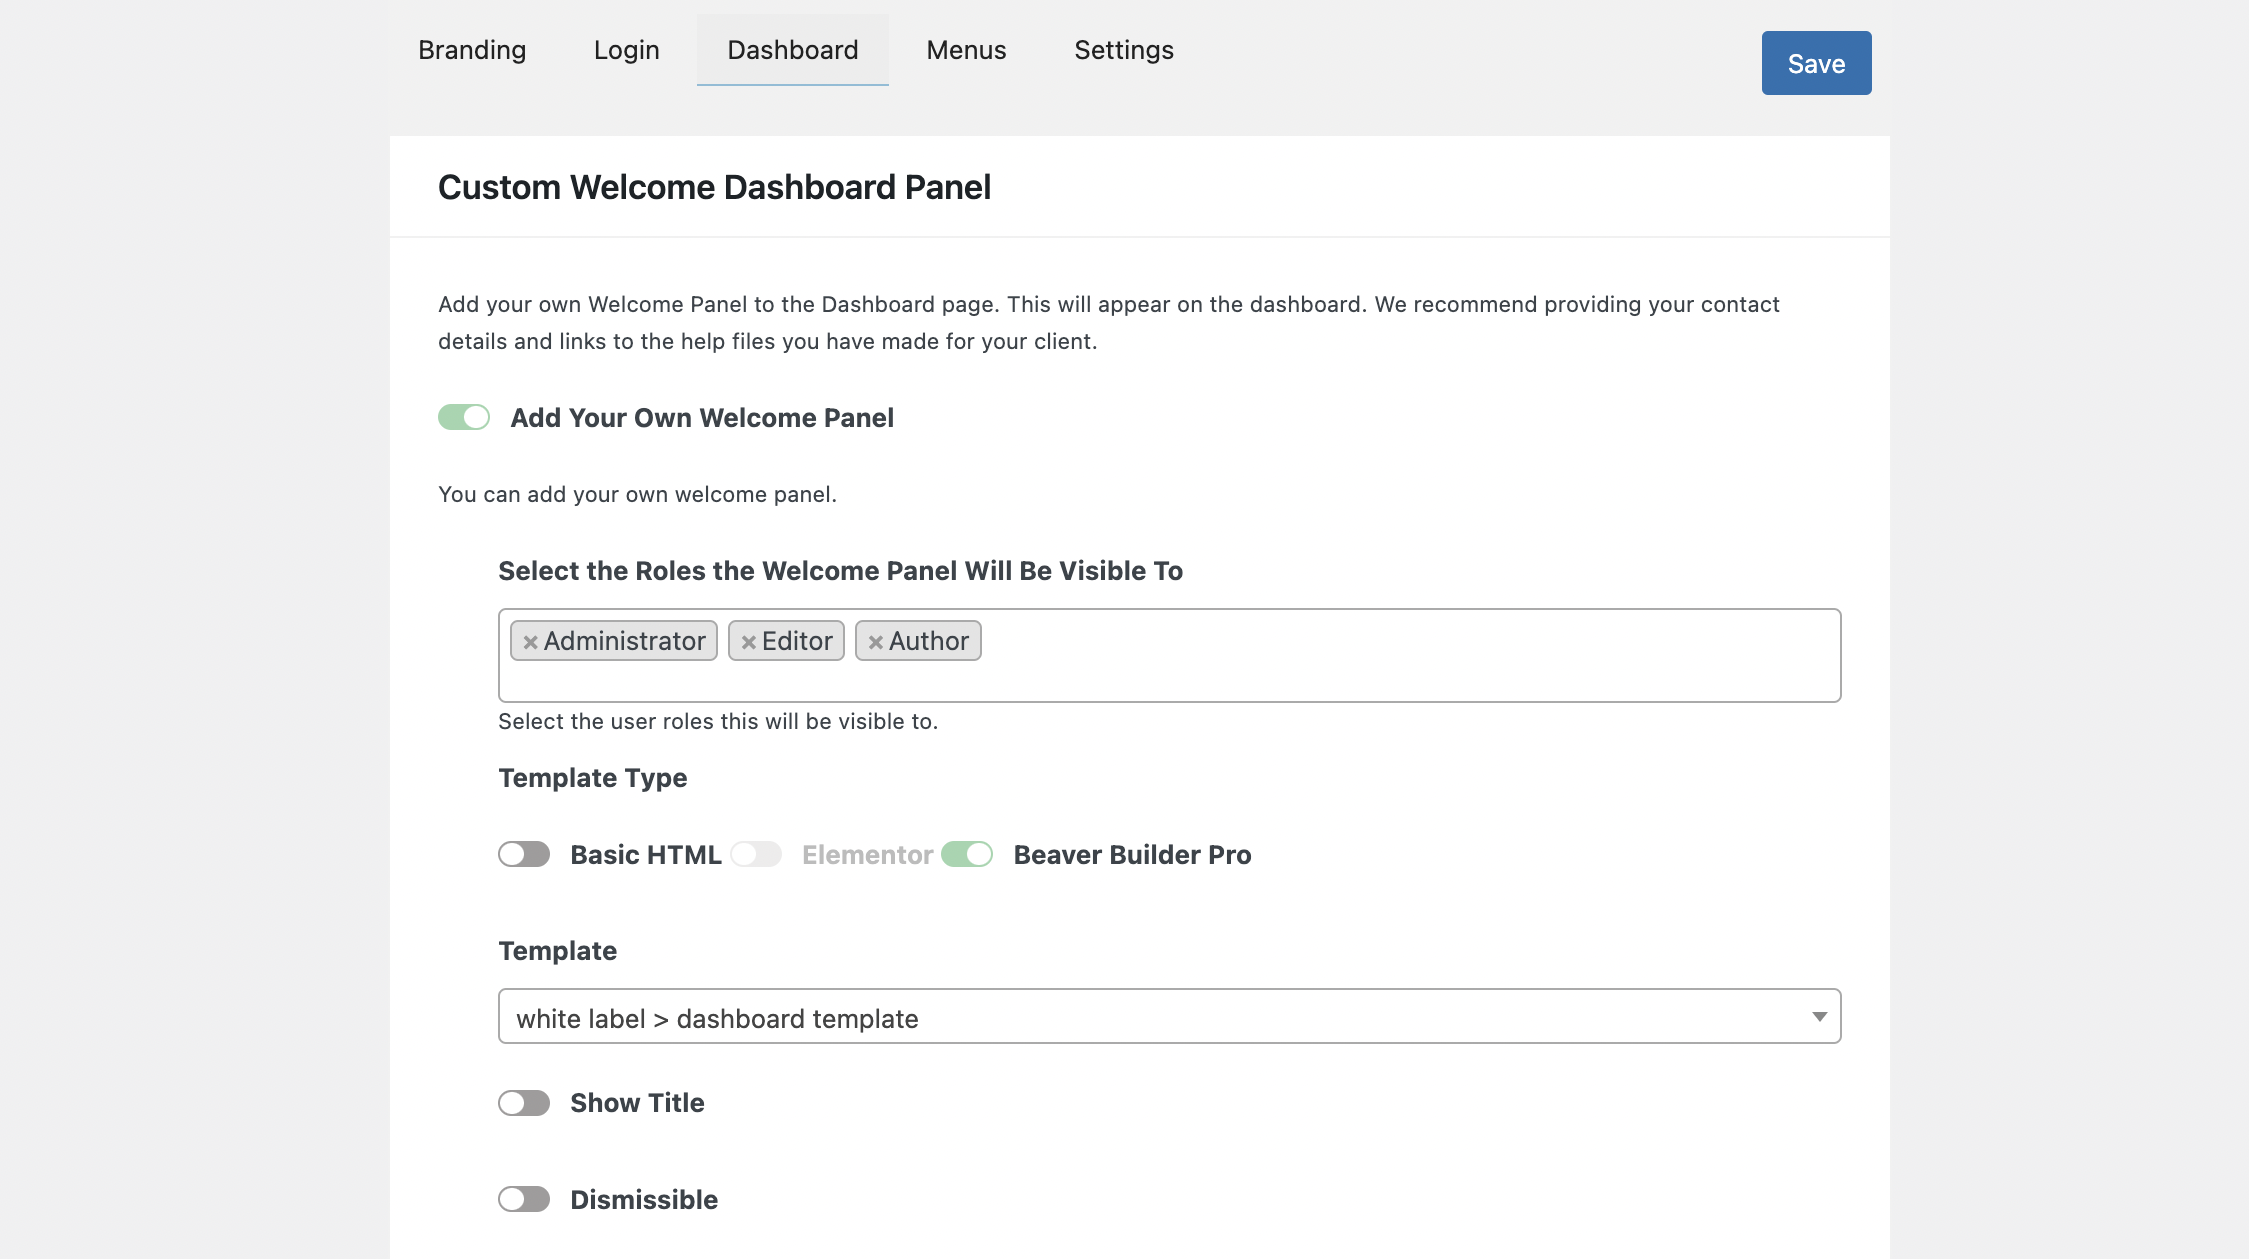
Scroll down to the next section labeled Custom Welcome Dashboard Panel. This is the fun part where you can add your own welcome panel to the dashboard.
Toggle on Add Your Own Welcome Panel, and select the roles the Welcome Panel will be visible to.
Next, choose your Template Type. You can choose Basic HTML, Elementor or Beaver Builder Pro. Note that you will need to have the page builders installed and activated for them to be toggled on. Otherwise, they will not be accessible.
In this example, we have installed the Beaver Builder Pro plugin and have toggled it on. Next, you can choose your custom Beaver Builder layout template from the drop down. In this example we created a layout template and saved it as white label > dashboard template.
PRO TIP: Before you can choose a custom layout template from the list, you will first need to create and save your design as a template using the page builder of your choice, Beaver Builder or Elementor.
RSS Dashboard Panel
You also have the option to include an RSS Dashboard Panel to display your agency’s recent blog posts. If you want your clients to be kept up to date with your latest news, then you will want to set up your RSS feed. In this example, instead of using White Label CMS to display the RSS feed, I added an RSS Feed module to the Beaver Builder template.
By now, our custom WordPress dashboard is really starting to take shape.
5. Hide Menus in the WordPress Dashboard
Moving on, the next tab in the White Label CMS settings is MENU. Click it, and you will be able to set up the White Label CMS Admin so that you can hide menus from your clients. This is a good idea if you manage your client’s websites and they don’t need access to certain areas of the site such as the theme and plugins.
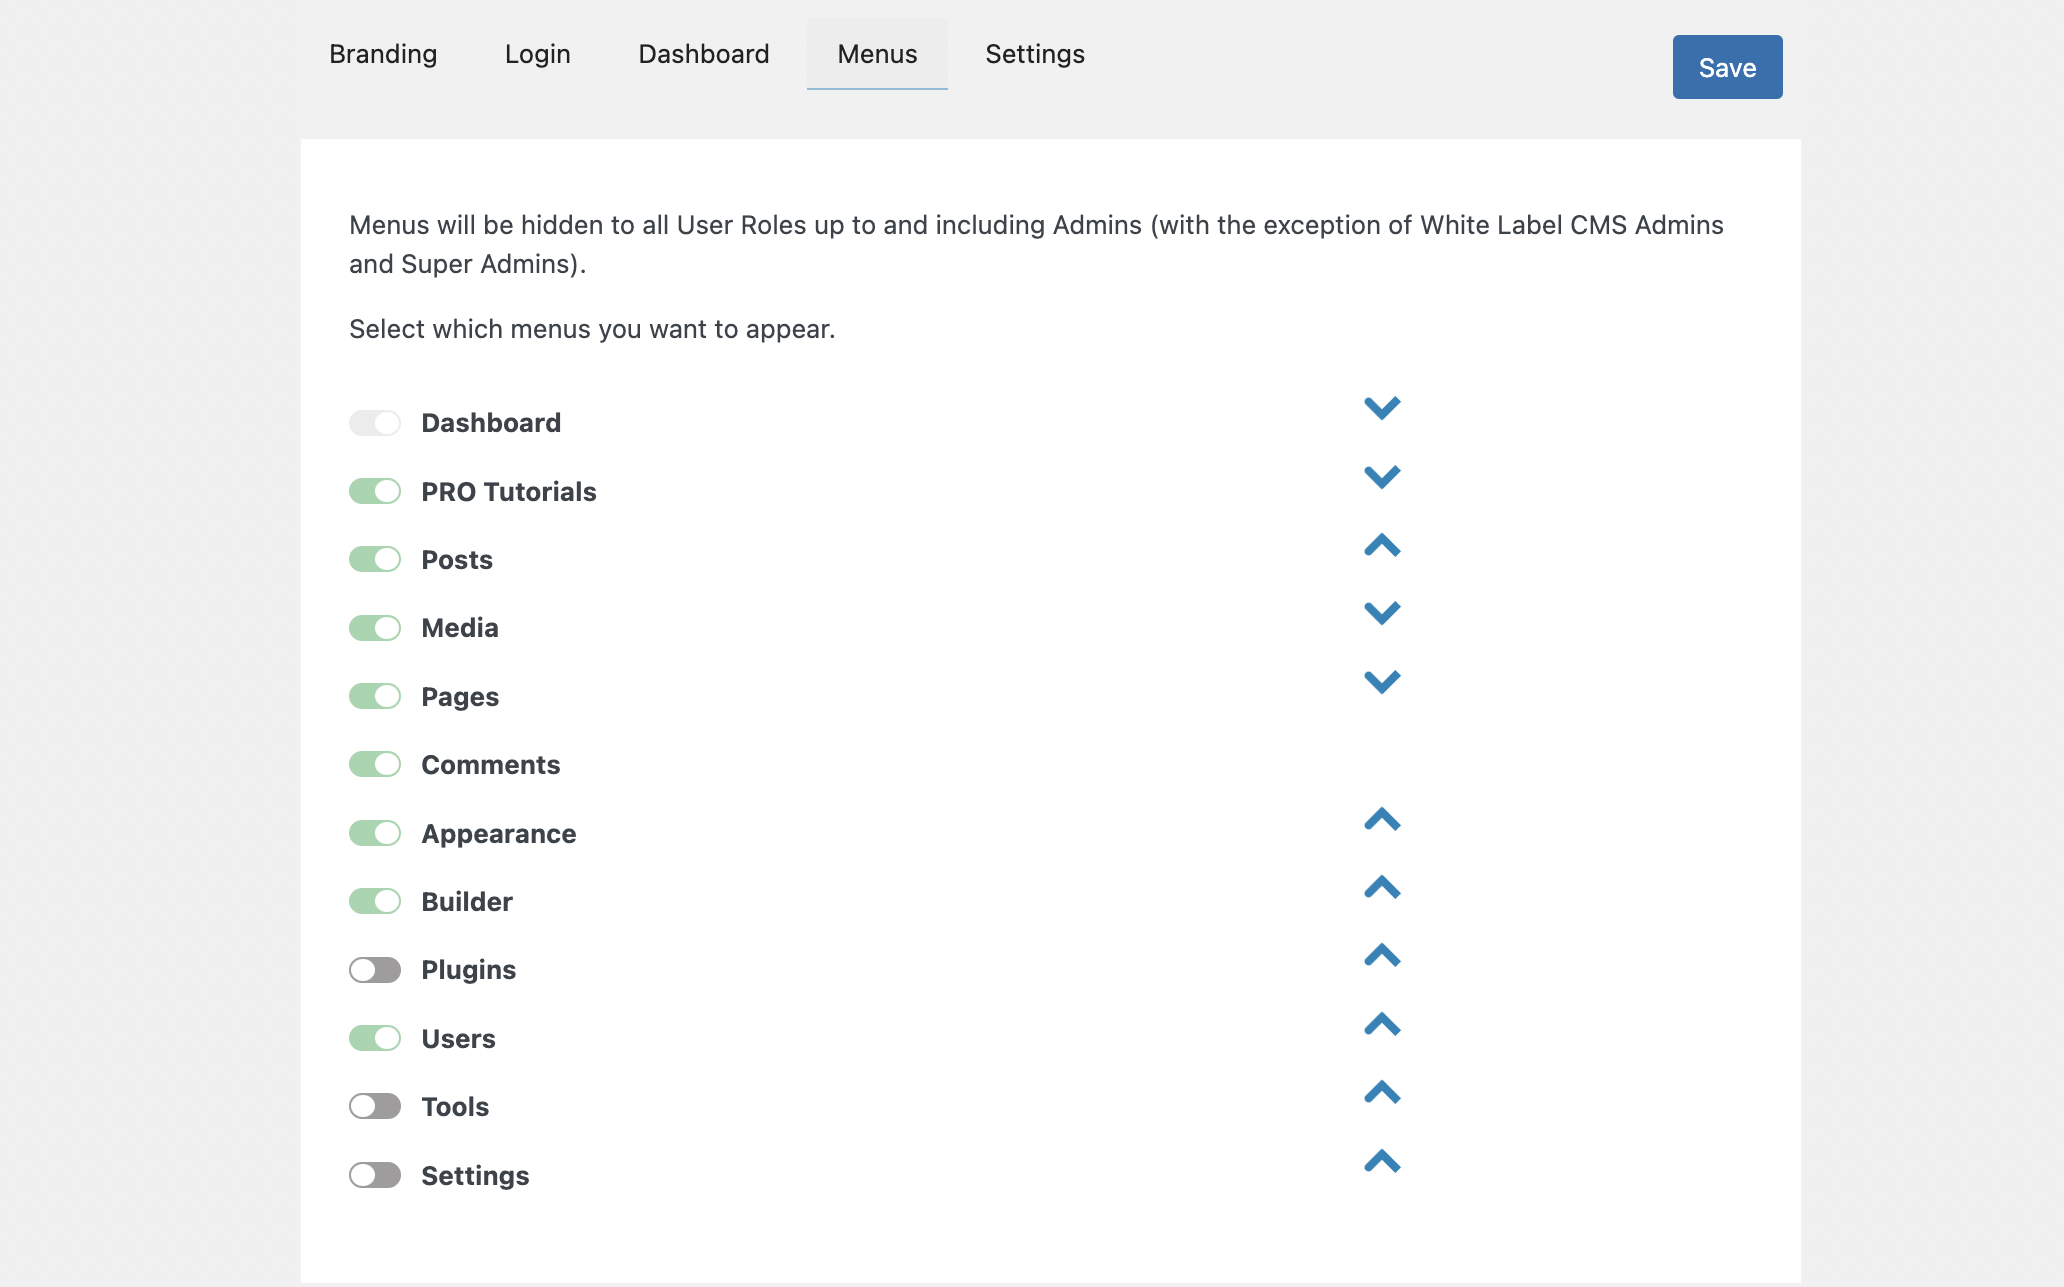
Menus
You can toggle on the menus that you would like your clients to have access to, and toggle off the menus that you would like to keep hidden.
Admin Bar Menus
Next, scroll down to the Admin Bar Menus section.Toggle off the Admin Bar Menus so that they will also be hidden to all User Roles up to and including Admins, with the exception of White Label CMS Admins and Super Admins.
Once you have set the Menu settings, click SAVE at the top of the page to save your changes.
Now, when your clients login to their website, they will only have access to the menu items that you have specified for their user level. This prevents them from being overwhelmed by too many choices or from clicking around and accidentally breaking the site.
6. Customize WordPress Admin Settings
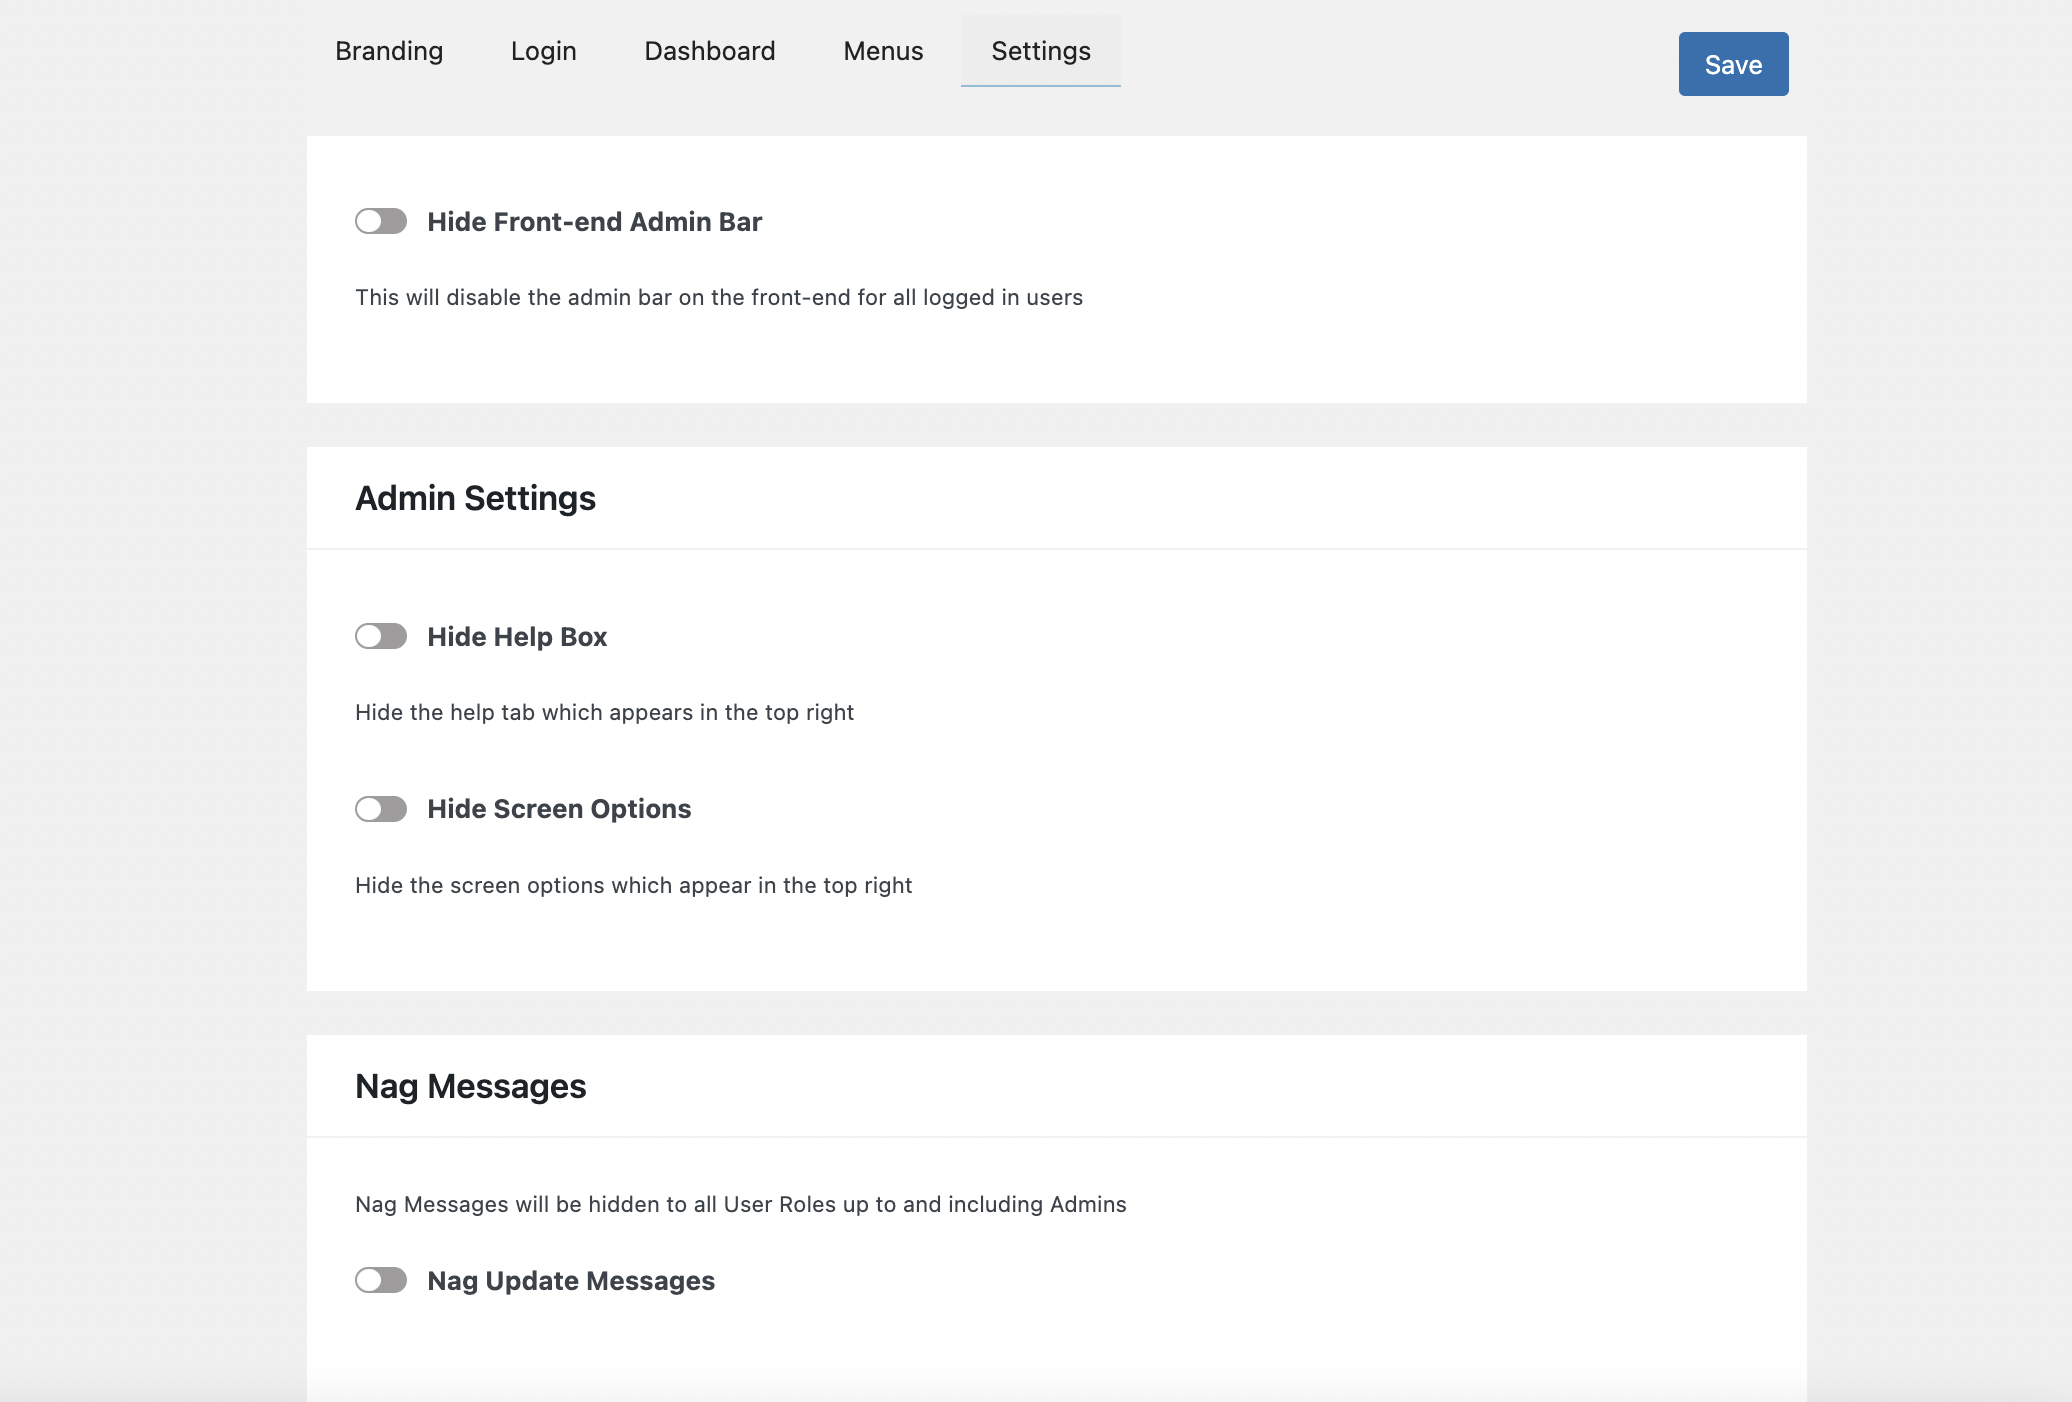
Admin Bar
In the Admin Bar section, toggle this on if you would like to disable the admin bar on the front-end for all logged in users. I typically leave this off for my clients.
Admin Settings
The next section, Admin Settings, lets you hide the help box and screen options tab that appear in the top right of the admin area.
Nag Messages
Lastly, you can remove the nag messages that appear at the top of the dashboard. These are usually messages from plugin developers letting you know there is an update or asking you to rate the software.
I like to toggle this on to remove them so that my clients aren’t notified of these messages. If you aren’t going to be managing your clients’ websites, then you might consider leaving this on.
Once again, click SAVE so that your changes take effect.
Conclusion
Delivering a professional website to your clients doesn’t have to be hard. In this article, you learned how easy it is to create a custom WordPress dashboard step by step using the White Label CMS plugin:
- Install White Label CMS
- Customize The WordPress Login Page
- Add a Custom Welcome Panel
- Hide Menus in the WordPress Dashboard
- Customize WordPress Admin Settings
Related Questions
What is White Label CMS?
White Label CMS is a WordPress plugin that web designers and developers use to remove all instances of WordPress and replace it with their own branding. This allows them to deliver a more professional website product to their clients.
Is White Label CMS free?
White Label CMS is a free plugin that is the best way to customize your WordPress website’s admin dashboard. It allows you to white label WordPress with your own branding.


