How to Add Events Timeline in WordPress
// WordPress + Beaver Builder Tutorial
Looking for a clean, modern way to display events in a timeline on your WordPress website?
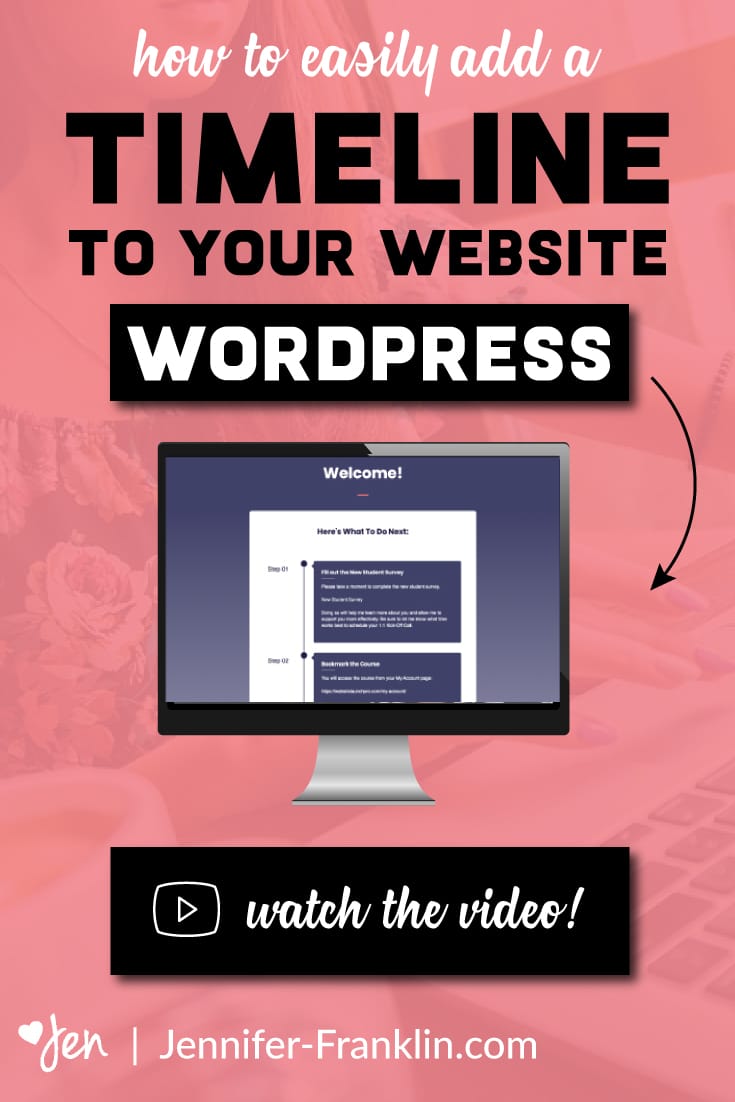
In today's video, I show students in my Website Launch Accelerator program how to add a timeline to WordPress using the following plugins: Beaver Builder and Timeline.
Why use a timeline?
A timeline helps to order your events or process in an easy to read and visually appealing way.
Display your content so that it is informative, unique and engaging. Woo hoo!
-
STEP 01
-
STEP 02
-
STEP 03
-
STEP 04
-
STEP 05
-
STEP 06
Ready to create a timeline on your WordPress website?
By the end of this tutorial, you will have learned how easy it is to create a timeline of events or steps in a process without the need to change your WordPress theme (shown here is Astra WordPress theme).
We will be using the following WordPress plugins: Beaver Builder and Timeline.
Here's how to get started creating your events timeline in just a few easy steps:
1. Make sure you have Beaver Builder page builder installed and activated.
2. Go to PLUGINS > ADD NEW and install this plugin.
3. Click on NEW > PAGE to create your page. (you can also display your timeline in a post, event, portfolio, product, etc.).
4. Click on LAUNCH BEAVER BUILDER to edit your page.
5. From your Beaver Builder menu, go to MODULES > STANDARD.
6. Scroll down to choose the TIMELINE module; click and drag the module onto your page.
That's it! Now you can customize your timeline with your content to fit your needs.
Don't forget to save your changes!
RELATED | CLICK HERE to learn how to start your WordPress website fast.
Want my FREE Website Launch PRO Quick Start Guide? CLICK HERE and I'll send it to you! Inside I show you how to get your website set up the right way - built on a solid foundation - so you can save yourself the headaches later. 🙂
What do you think?
I hope you found this video useful. Leave me a comment below.

RESOURCES MENTIONED
SAVE FOR LATER > PIN ME!
