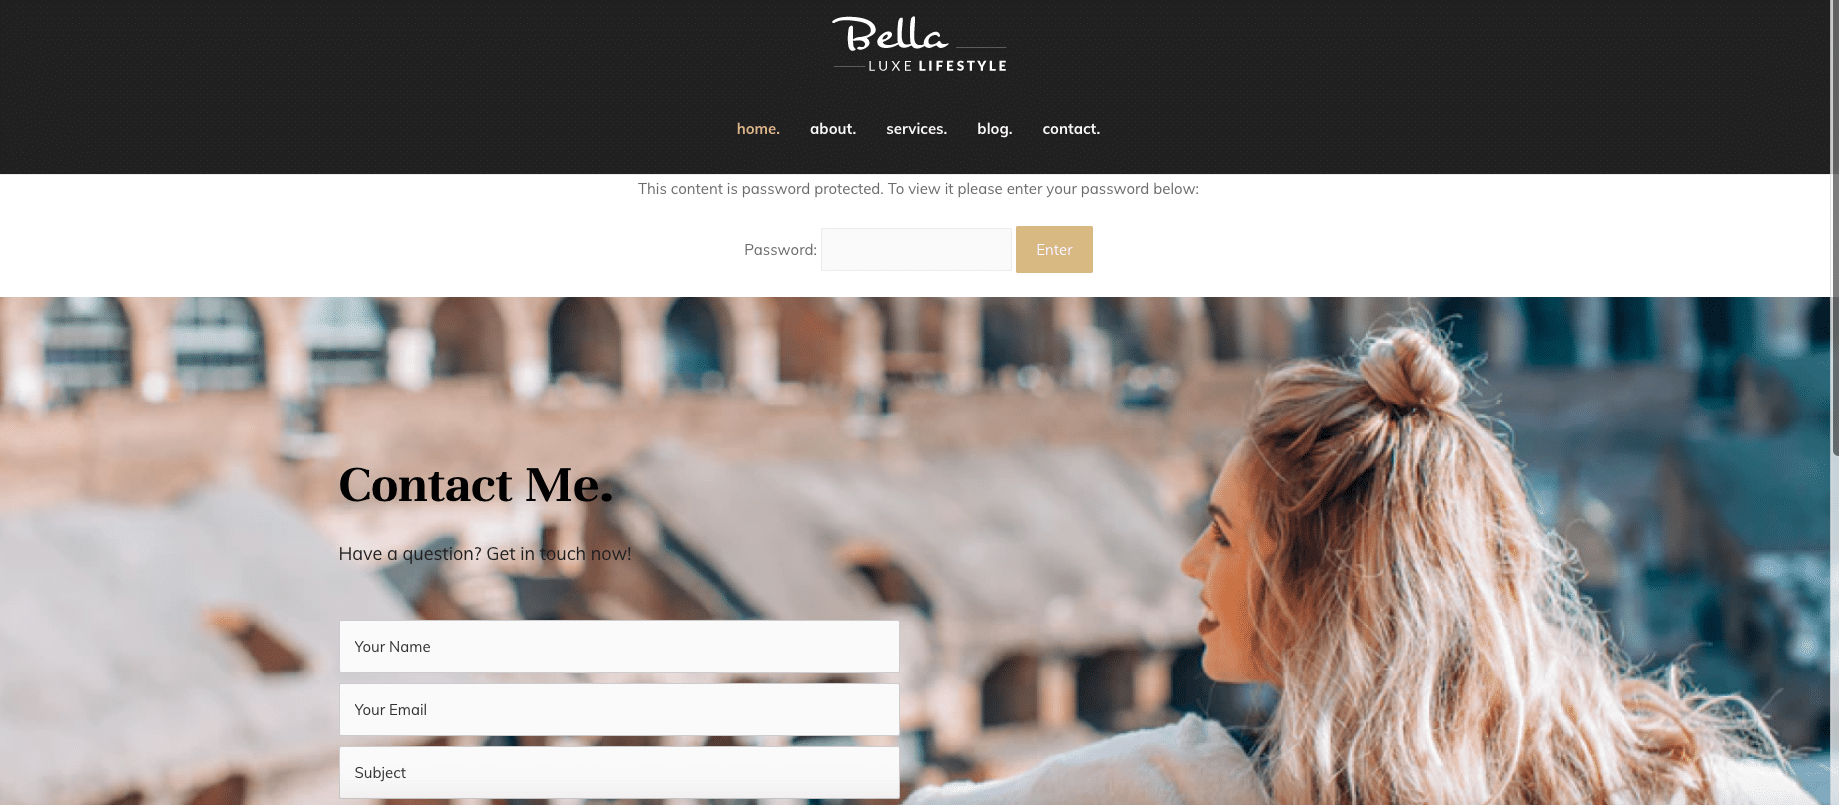
how to add a password protected wordpress page
// WordPress Tutorial
In today's video, you will learn how to add a password protected WordPress page.
There are a number of reasons why you may want a hidden WordPress page:
- Create a free resource library for your subscribers
- Create a private client area
- Post information or documents for internal use
Here's how to easily add a password protected page to your WordPress website in just a few easy steps:
- Login to your WordPress website and go to the page that you want to add the password.
- From the top bar, click on EDIT PAGE. (If you don't have the page created yet, then you will need to first add the new page)
- Go to STATUS & VISIBILITY and click on the PUBLIC link.
- From the drop down menu, click on PASSWORD PROTECTED.
- Choose a secret password and type it in the box.
- Click on UPDATE to save your changes (or PUBLISH if this is a new page).
That's it!
Click on VIEW PAGE to confirm that your password protected area has been added to your page.
Enter your password to make sure that it is spelled correctly and working.
If so, then you are good to go!
What do you think?
I hope you found this video useful.
If so, leave me a comment below.
Chat soon,

SAVE FOR LATER > PIN ME!


