How To Create Your WordPress Contact Form
// WordPress Tutorial
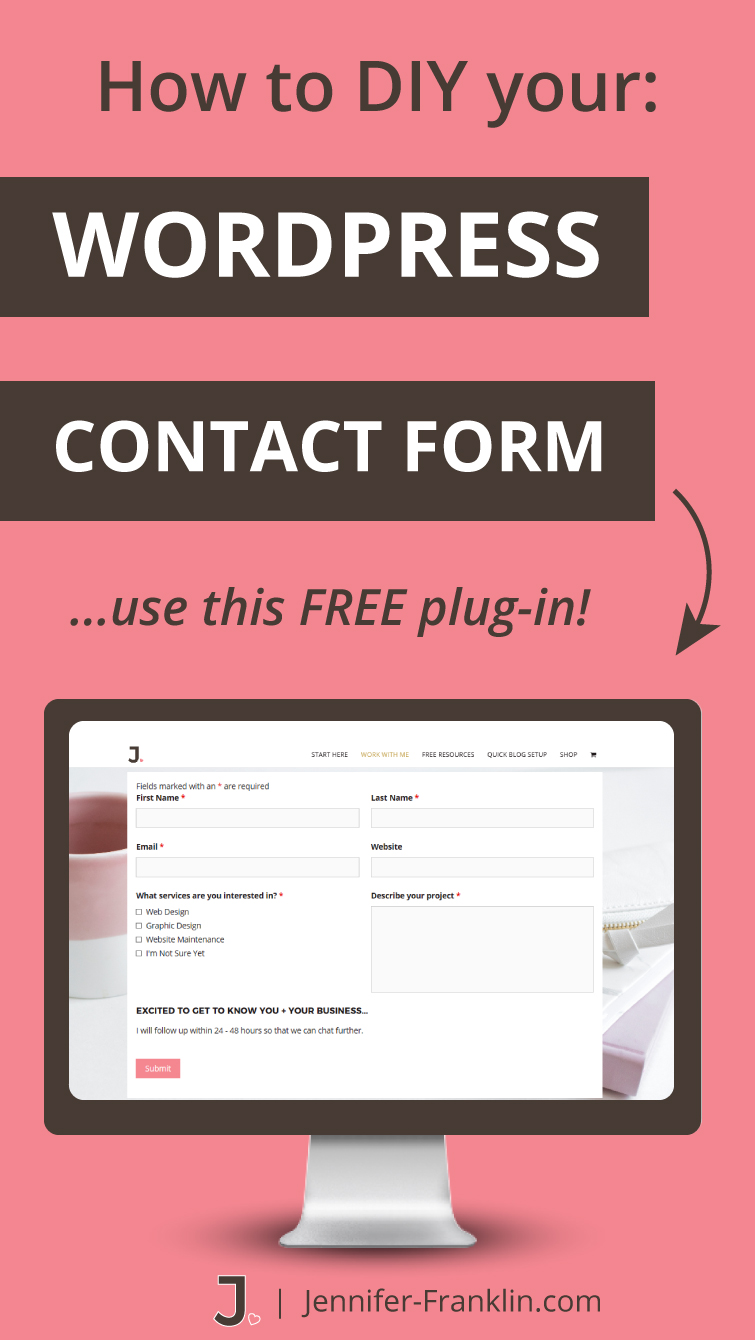
In a previous post, I shared with you four important pages your website needs now. Today, I am going to show you how to create WordPress contact form on your Contact Me or Contact Us page.
Following are the steps I use to easily create WordPress contact form:
- Install Ninja Forms plugin.
- Create new Contact Us form from template.
- Add Contact Us form to Contact page in WordPress.
- Submit a test submission.
1. Install Ninja Forms Plugin
First, I use and recommend you install the Ninja Forms plugin.
This contact form plugin has over 5 million downloads and is completely FREE!
In addition to the Contact Us form, the Ninja Forms plugin will allow you to customize other forms you may need later on including the following: Quote Requests, Event Registrations and Sign Up Forms.
This amazing little plugin comes with a Contact Form template pre-installed which makes setting up your contact page super simple.
2. Create A New Form
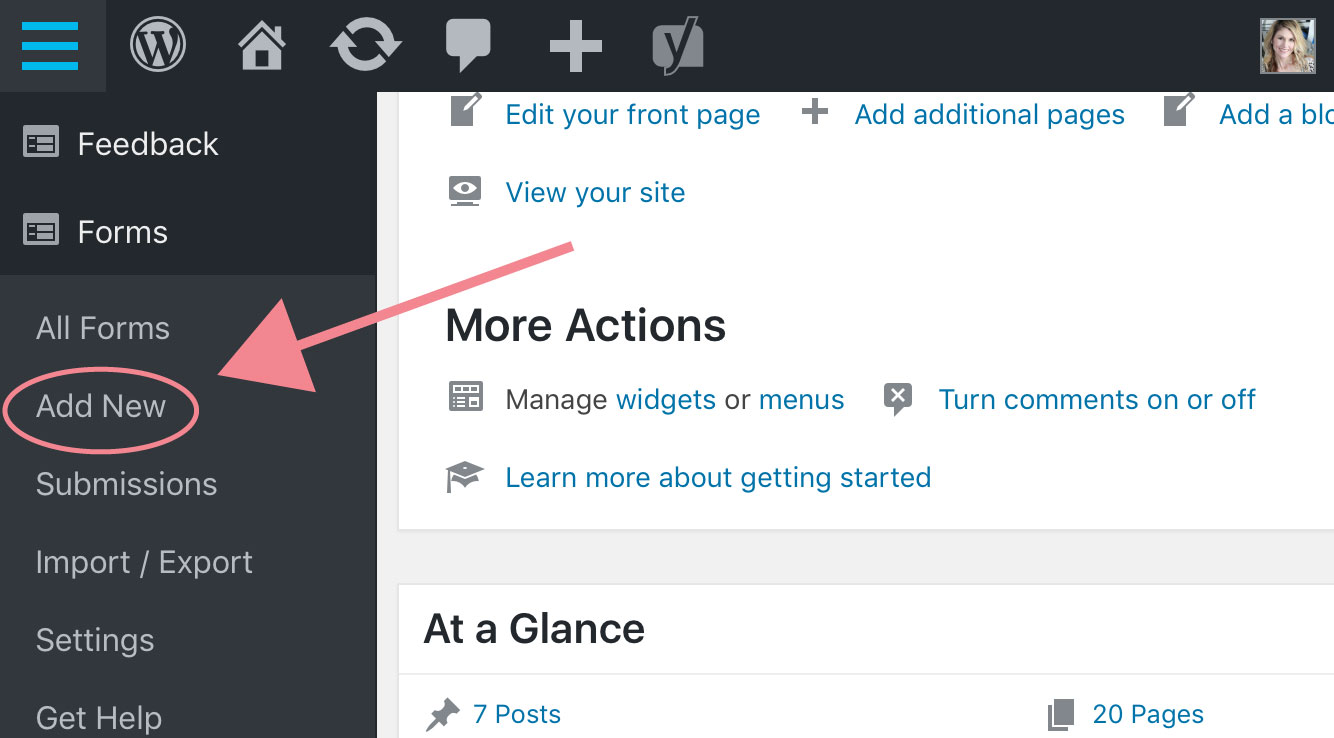
Next, you will create a new Ninja Form from your WordPress dashboard.
Under FORMS on the left hand side, click on ADD NEW.
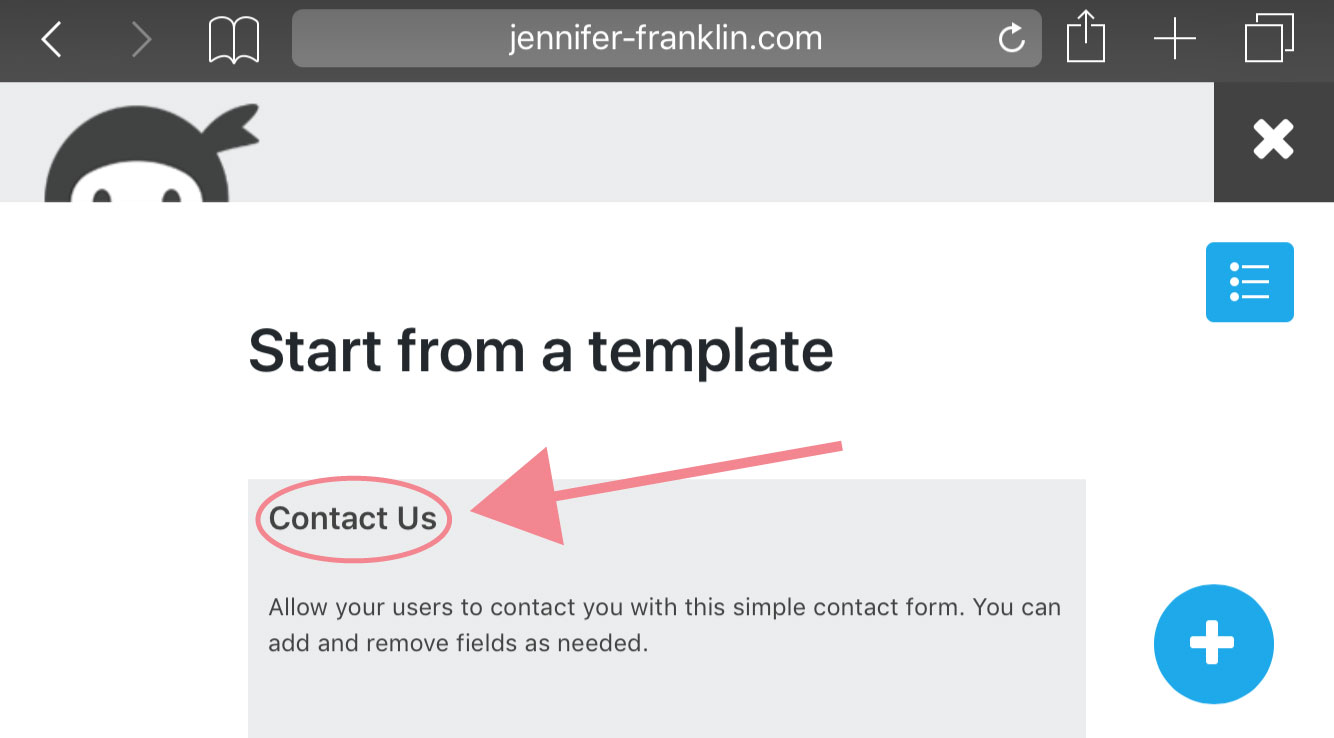
You will then be prompted to choose from one of three Ninja Form templates or create your own.
Click on the CONTACT US template.
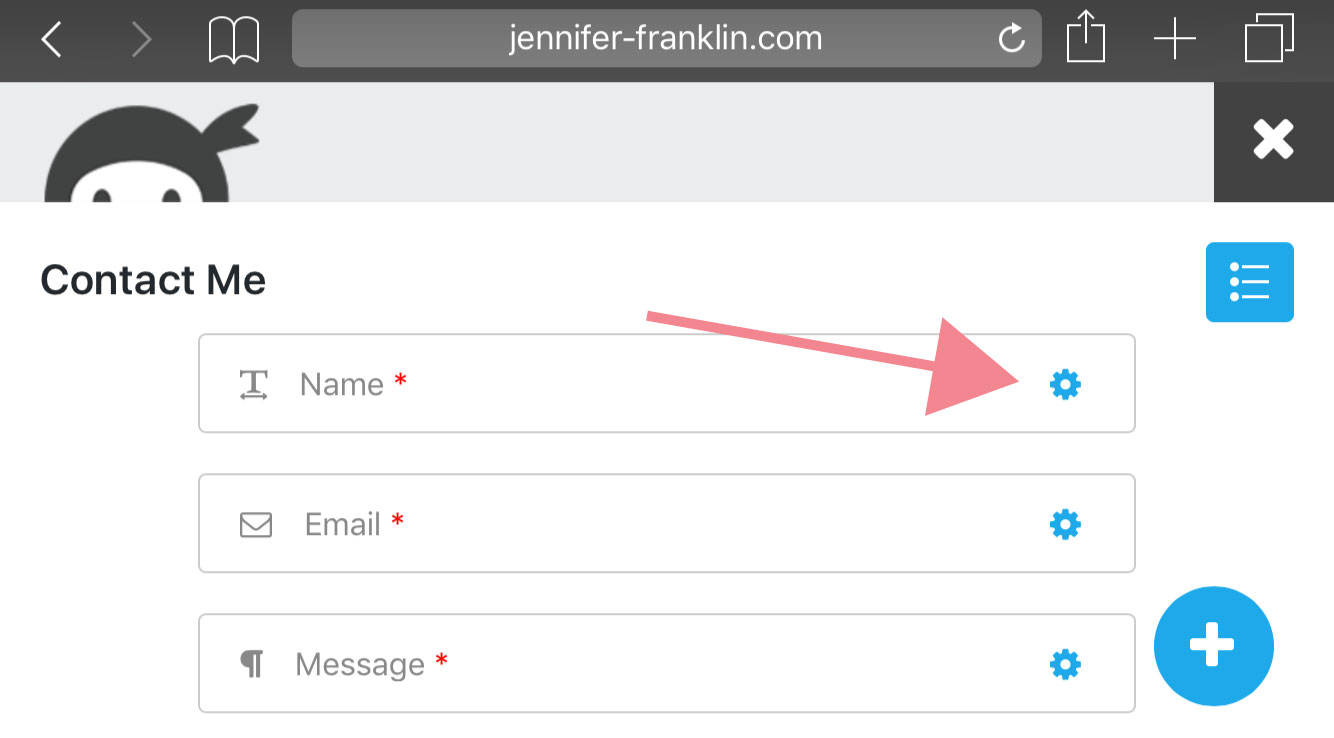
This will create a form with the following fields pre-installed: Name, Email, Subject and Message.
You can add and remove fields as needed.
Click on the gear icon to edit each field individually.
Be sure to click DONE to save your changes.
Finally, you will need to update the Emails & Actions settings from the link at the top left of your Ninja Forms dashboard page.
Here you can toggle on and off the following: Save to Database, Success Message, Email Confirmation, Email Notification.
Update each of the above sections to meet your needs. Click on the GEAR ICON located under ACTIONS.
Ready to see how your Contact Form looks so far?
Click on PREVIEW.
If you are satisfied with the results, click PUBLISH.
Next, you will add the Contact Us Ninja Form to your website!
Woop! Woop!
Pro Tip: Make sure to update the default email address with your business' email address so that all new submissions will be sent directly to your inbox.
3. Add Contact Form To Your WordPress Website
You can easily add the Contact Us form to your WordPress website with a widget, short-code, template function, or append it automatically to any content you choose.
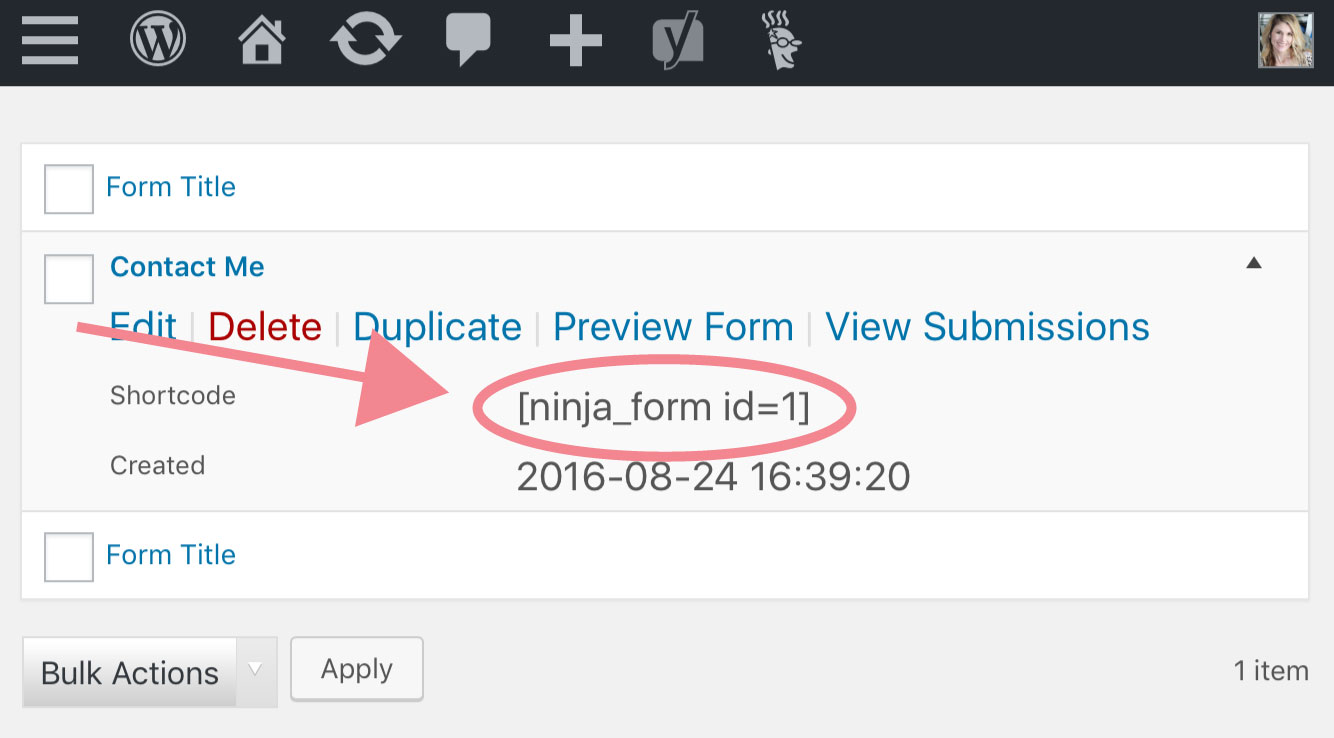
One of the easiest ways I have found to add your newly created contact form to your Contact Us page is with a short-code.
Create a new page or click on edit to update your current Contact Us page.
Simply copy the short-code found on the Ninja Form dashboard page and paste the short-code into the WYSIWYG text editor of the Contact Us page.
Save or Publish your page and your Contact Us form is ready to go!
When the shortcode is pasted into the Text Editor the contact form is populated like this (you will replace the ID with the appropriate number):
4. Submit A Test Submission
The last step is to fill out and submit a test submission.
If everything is set up correctly, you will receive an email confirming the information submitted.
What do you think?
Are you ready to create WordPress contact form using Ninja Forms?
See ya soon,
RESOURCES MENTIONED
SAVE FOR LATER > PIN ME!
