One of the easiest ways to start an online store without inventory is to add affiliate products to WooCommerce. Unfortunately, I learned this the hard way, but you don’t have to. With my first online business, I spent a lot of time managing inventory, processing orders, and shipping products directly to customers.
Eventually, I realized that there was a much simpler way to run my online business: offer dropship and affiliate products in my WooCommerce store. This allowed me to spend more time with my family and make more money because I no longer needed to store and ship inventory.
WooCommerce provides an easy way to add affiliate products to your online store. This method allows all of your WooCommerce product types (simple, grouped, virtual, downloadable, external / affiliate, variable, etc.) to be organized, featured and sorted in your online shop:
| WooCommerce Product Type | WooCommerce Product Type Description |
|---|---|
| Simple | Simple products are shipped and have no options. For example, a book. |
| Grouped | Grouped products are a collection of related products that can be purchased individually and only consist of simple products. For example, a set of 4 towels. |
| Virtual | Virtual products are ones that don’t require shipping. For example, a service. |
| Downloadable | Downloadable products activates additional fields where you can provide a downloadable file. For example, a PDF ebook. |
| External or Affiliate | External or Affiliate products are ones that you list and describe on your website but are sold elsewhere. |
| Variable | Variable products include variations, each of which may have a different SKU, price, stock option, etc. For example, a t-shirt with various sizes and colors. |
| WooCommerce Extensions | Other types can be added by extensions. For example, WooCommerce Subscriptions and WooCommerce Bookings both add new product types. |
In this article, you will learn how to add affiliate products to WooCommerce in just 5 easy steps. Let’s get started!
How to Add Affiliate Products to WooCommerce
Affiliate products are added to WooCommerce much the same way the other product types are, including uploading product images and descriptions. In addition, adding affiliate products to WooCommerce gives you more control over how your products are showcased on your site.
Before you begin, you will need to be sure you have the WooCommerce plugin installed and activated on your WordPress site. I have found the easiest way to get WooCommerce set up is to start with the setup wizard that walks you through the basics of setting up your store.
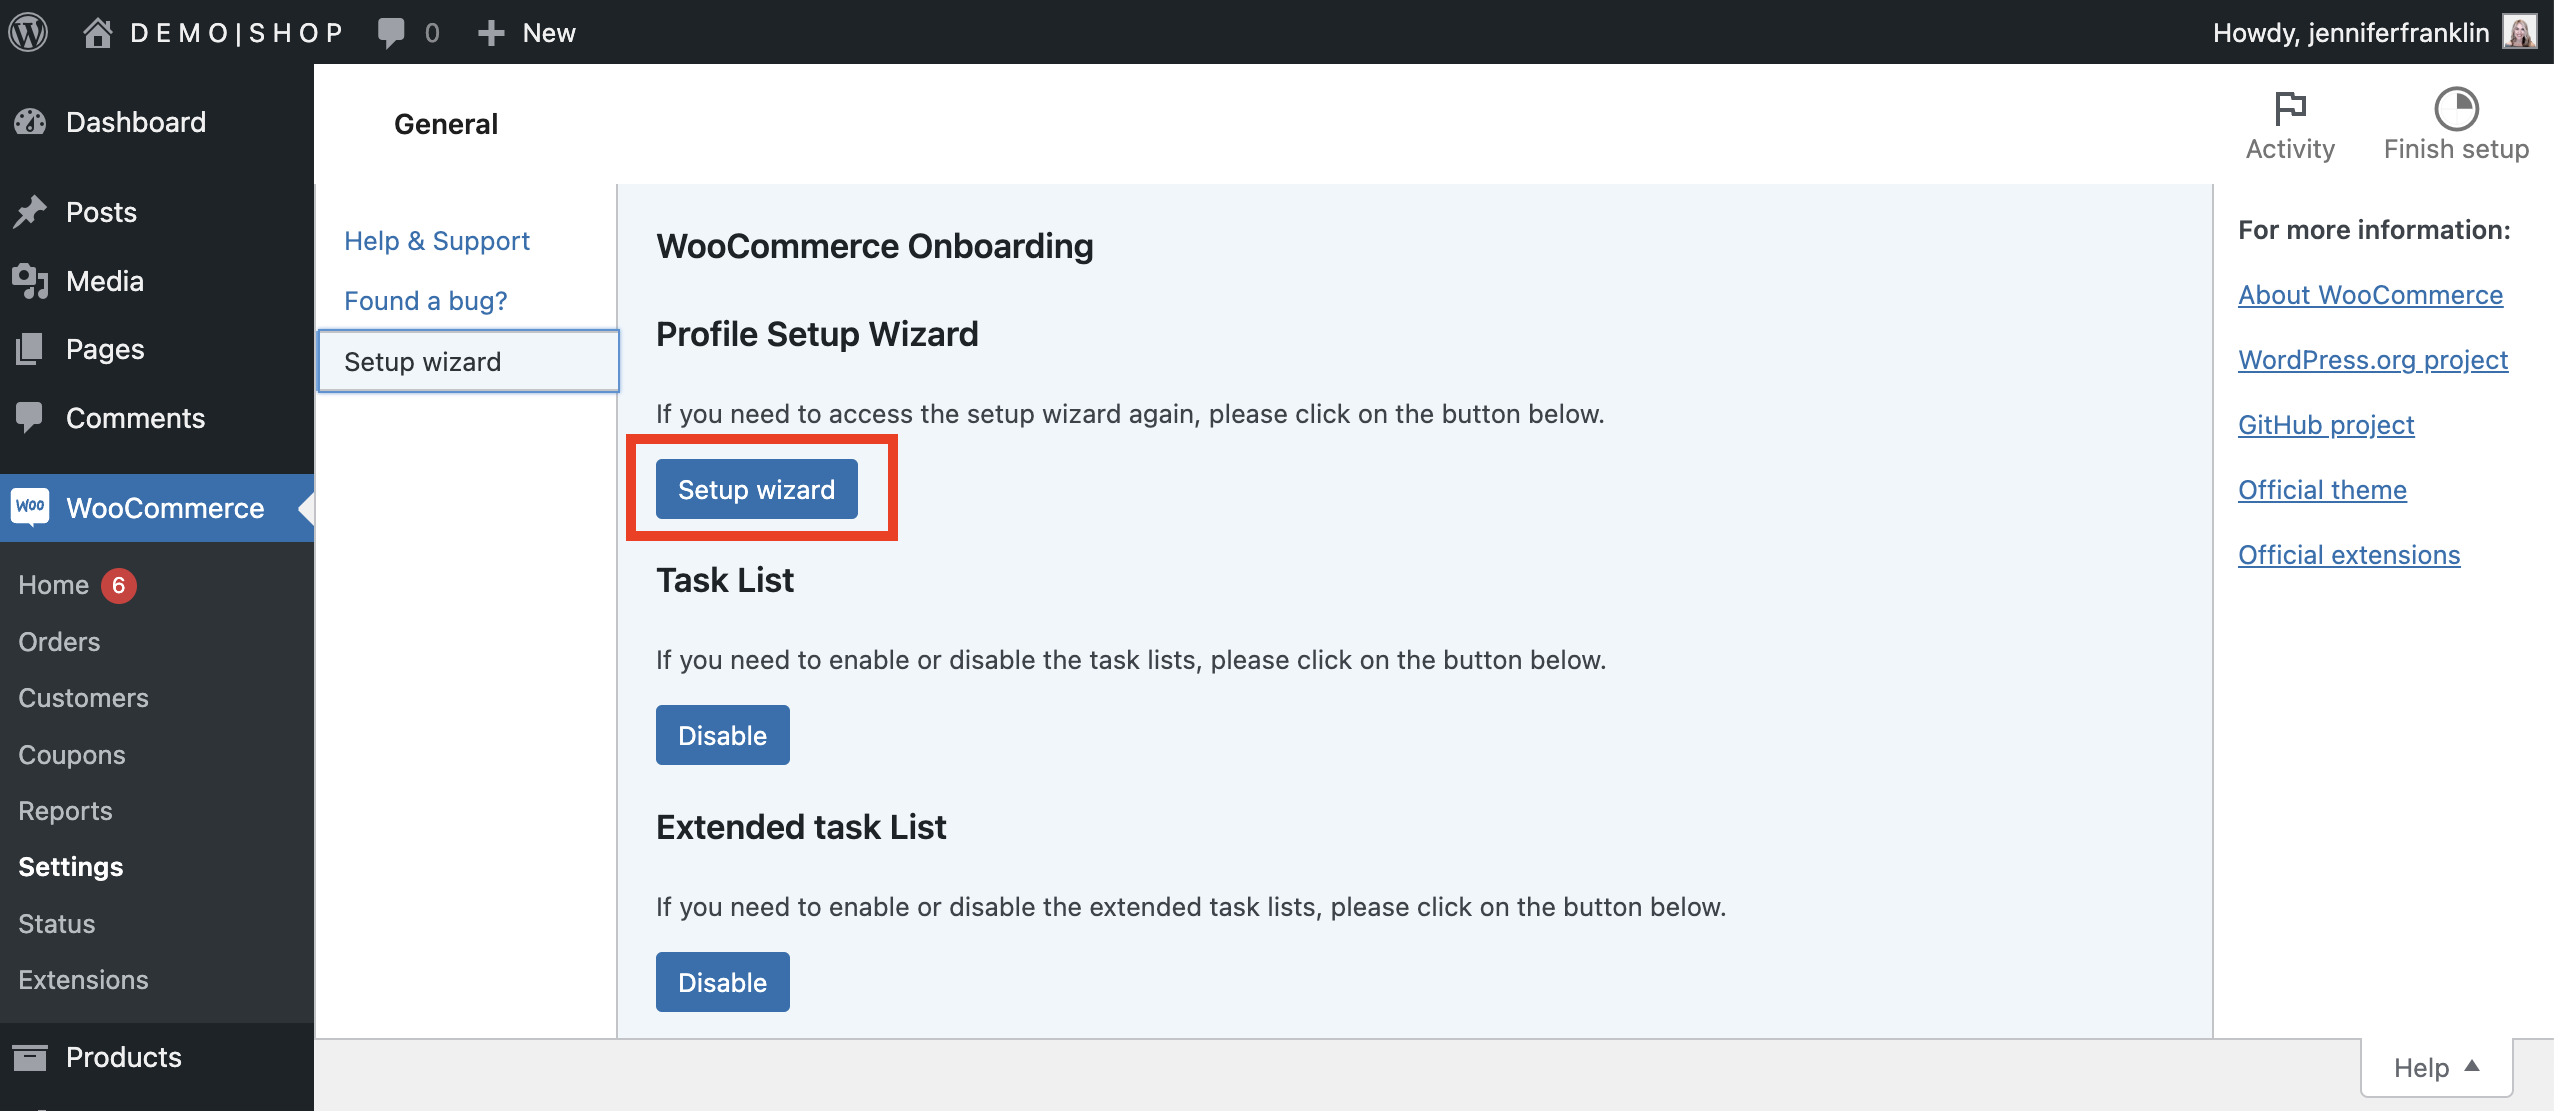
Go to any of the WooCommerce pages in your WordPress Admin. Select Help at the top-right corner:

Choose the Setup Wizard tab. Next, click the Setup Wizard button:
Follow the prompts on the pages to enter your online business details. Once you have finished the WooCommerce setup, you are ready to add your affiliate products to WooCommerce.
STEP 1: Add Affiliate Product to WooCommerce: Go to PRODUCTS > ADD NEW
From your WordPress dashboard, navigate to PRODUCTS and click ADD NEW. This will open up the Add New Product window that looks like this:

Here you will provide the product details like name, description, category and image.
STEP 2: Select External/Affiliate Product from Product Data Field
Once you have entered the product details, it’s time to add the product data. Scroll down to the PRODUCT DATA field and choose EXTERNAL/AFFILIATE PRODUCT from the dropdown:

Here you will notice this changes the Product data metabox so that there is no longer a SHIPPING tab along the left side. In addition, you will notice two new fields under the GENERAL tab: the Product URL and Button text fields.
STEP 3: Add Affiliate Link in Product URL Field
The next step is to add the unique affiliate link for the product in the Product URL field. This should be a direct link to the page where your website visitors can go to purchase the product and not a generic link to the merchant’s home page.
This makes it easy for your website visitors to complete their purchase from the merchant. Otherwise, if they are sent to a generic landing page they will need to search for the product all over again once they leave your site.
From the Product data metabox, navigate to the GENERAL tab. It is the first tab located along the left side. In the Product URL field, enter the external URL to the product:

STEP 4: Update Affiliate Product’s Button Text
The Button text field lets you change the standard Add to cart button text to something of your choosing. I like to let my website visitors know where the link will take them. For example, if I want to offer my favorite camera kit for creators that I purchased on Amazon, then I would update my WooCommerce shop’s Button text to: CHECK PRICE ON AMAZON.
To update the product’s button text, go to the GENERAL tab. In the Button text field, enter the text that you want to display. This text will be shown on the button that links to the external affiliate product:

STEP 5: Add Affiliate Product’s Price (optional)
You have the option to provide the price details for the affiliate product. In my experience, I have found this to be frustrating for website users. This is because the prices on the merchant’s website may change over time. If this happens, the price will not match what is displayed on your site leaving your website user frustrated especially if the price has gone up significantly.
To add the WooCommerce affiliate product’s price details, go to the GENERAL tab of the Product data metabox. Just below the Button text field you will find the following two fields:
- Regular price – The regular price is the price of the product.
- Sale price – The sale price of the product is the discounted price. Note that the sale price must be lower than the regular price.
To the right of the Sale price field, you will notice a Schedule text link:

Clicking the Schedule link allows you to choose Sale price dates, the sale start date and end date. Choose a From day in the calendar popup to set the sale start date and begin displaying the sale prices on your website. Next, choose a To day in the calendar popup to set the sale end date.
Conclusion
Once you have finished adding all of the affiliate product details, click PUBLISH in the upper right side of the Add Product page to make the product live. Take a moment to review the product on the front end of your website to make sure everything looks good.
Now, if your website visitors are interested in an affiliate product that you offer they can click the CHECK PRICE button and be redirected to the make their purchase on the merchant’s website. Once they make a purchase, you get credited a percentage of the sale in your affiliate account.
You might also like to watch this WordPress tutorial, How to Add Affiliate Products to WooCommerce Store:


